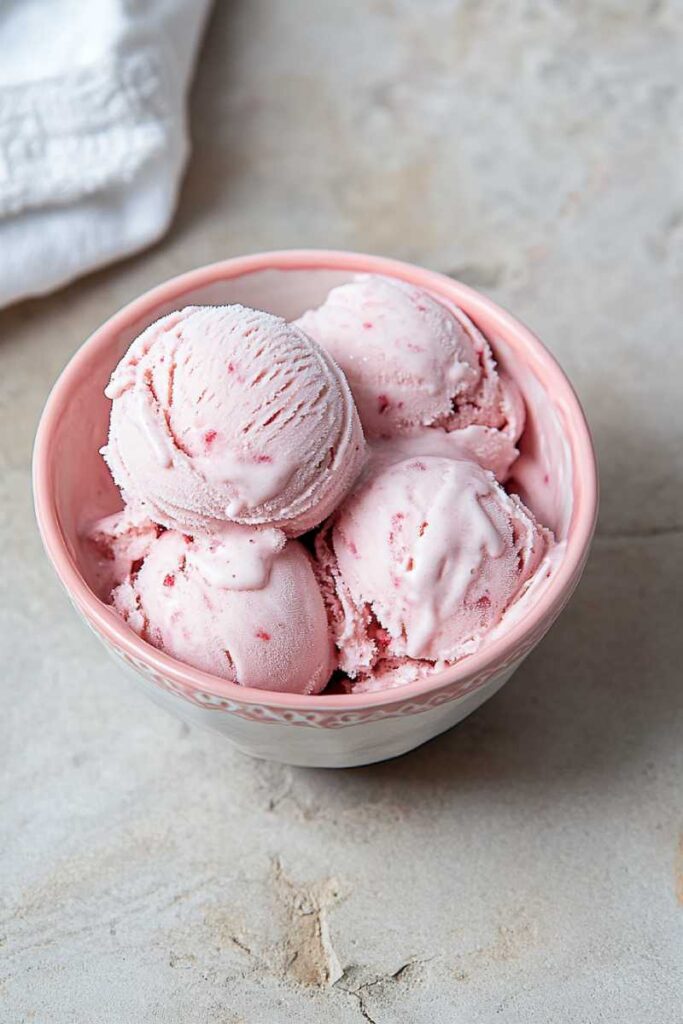
Homemade strawberry ice cream? It doesn’t get better than this. It’s fresh, creamy, and packed with the natural sweetness of ripe strawberries. This recipe is a low-carb twist on the classic, using monk fruit sweetener for a treat you can enjoy guilt-free. Whether you’re new to making ice cream or a seasoned pro, I’ll guide you step-by-step to whip up the creamiest dessert right in your kitchen.
Quick Recipe Overview
Prep Time
- 5 minutes to blend
- 18–24 hours to freeze
- 5 minutes to process
Total Time: About a day (most of it is just waiting for it to freeze).
Servings
Makes 2 servings (about ⅔ cup each). Need more? Just double or triple the ingredients, but remember: freeze each batch in its own Ninja Creami pint container.
Skill Level
Beginner-friendly! If you’ve got a blender and a Ninja Creami machine, you’re good to go.
What You’ll Need
Equipment
- Blender (any kind works)
- Ninja Creami machine
- Ninja Creami pint container with lid
- Measuring cups and spoons
No Ninja Creami? No problem. Use an ice cream maker or freeze the mixture in a shallow dish, then blend it again before serving.
Ingredients
What You’ll Need
- 1 cup heavy cream (or half-and-half)
- 1 cup frozen strawberries
- ½ teaspoon vanilla extract (or vanilla bean paste for extra flavor)
- 5 drops stevia extract
- 2 tablespoons monk fruit sweetener (like Besti Monk Fruit Erythritol Blend)
Substitutions
- Heavy cream: Swap with half-and-half for a lighter version or coconut cream for dairy-free.
- Frozen strawberries: Fresh strawberries work too—just freeze them first. Want a twist? Try raspberries or mixed berries instead.
- Sweeteners: Replace stevia with honey, agave syrup, or your favorite sweetener. Monk fruit can also be swapped with regular sugar or erythritol (but keep in mind it may change the carb count).
Pro Tip: Use ripe strawberries and high-quality heavy cream for the best flavor. If you’re feeling fancy, vanilla bean paste adds those pretty little vanilla specks.
Step-by-Step Instructions
Step 1: Blend It Up
Toss all your ingredients—cream, strawberries, vanilla, stevia, and monk fruit sweetener—into a blender. Blend until smooth and creamy. The texture should be thick but still pourable.
Tip: Taste it before freezing! Too tart? Add a little more sweetener.
Step 2: Freeze the Base
Pour the mixture into your Ninja Creami pint container. Don’t go past the MAX FILL line! Pop on the lid and freeze flat for at least 18–24 hours.
What to look for: The base should be rock solid—no soft spots—before processing.
Step 3: Spin It
Take your frozen pint out of the freezer and remove the lid. Place it in the Ninja Creami pint holder, attach the blade assembly, lock it into your machine, and select “Ice Cream” or “Soft Serve.”
Heads up: This takes about 2–3 minutes.
Step 4: Re-spin If Needed
If your ice cream looks crumbly after spinning, don’t panic! Just hit “Re-spin” to smooth it out.
Pro Tip: Only re-spin freshly processed ice cream—not leftovers that have already been refrozen.
Step 5: Serve and Enjoy!
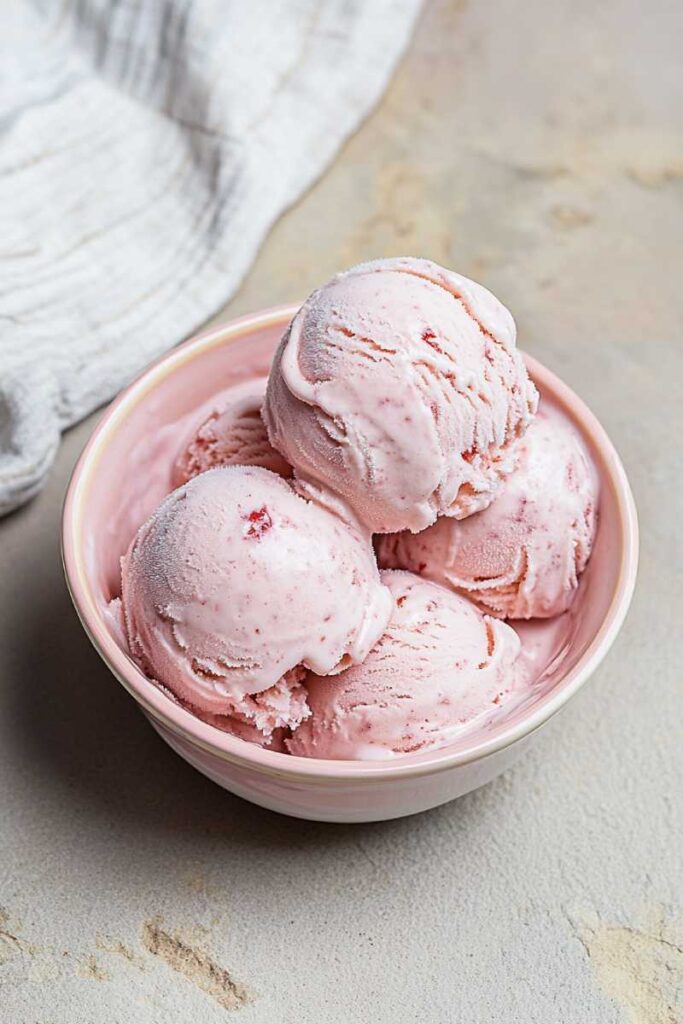
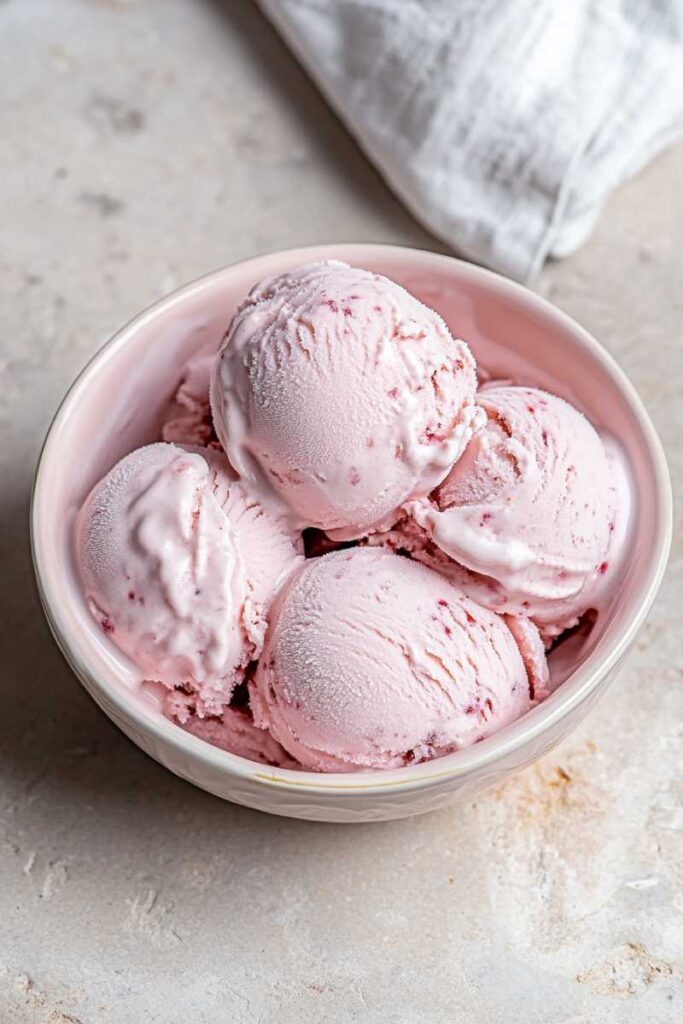
Scoop out your creamy strawberry goodness into bowls or cones. Want to take it up a notch? Add fresh berries, sugar-free chocolate chips, or whipped cream on top.
Texture check: It should be smooth, creamy, and easy to scoop.
Customization Ideas
- Dairy-Free/Vegan: Use coconut cream instead of heavy cream and swap stevia for maple syrup or agave.
- Keto-Friendly: Stick with monk fruit sweetener to keep carbs low.
- Fancy Touches: Swirl in some sugar-free strawberry jam or sprinkle crushed nuts during processing for added texture.
Seasonal Tip: In summer, use fresh strawberries at their peak ripeness; in winter, frozen ones work perfectly.
Serving & Storing Tips
How to Serve It
Serve in chilled bowls to keep it from melting too fast. Pair with shortbread cookies or fresh fruit if you’re feeling fancy.
Storing Leftovers
Keep leftovers in the same pint container with the lid tightly sealed. Store in the freezer for up to a week.
Too hard after freezing? Let it sit at room temp for 5–10 minutes before scooping—or reprocess it in your Ninja Creami.
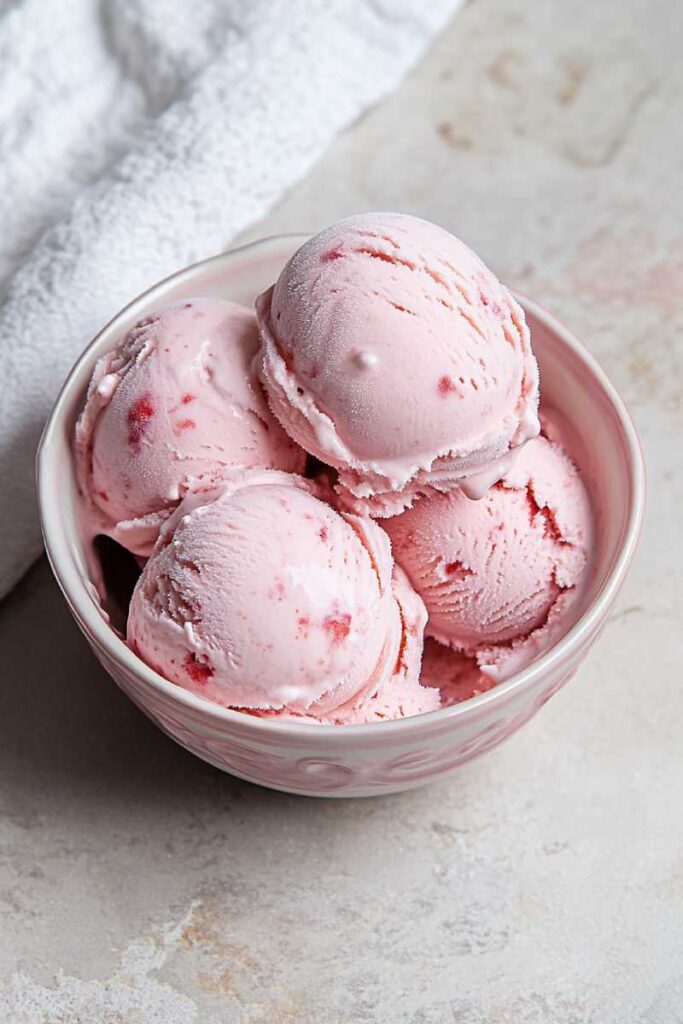
This recipe isn’t just about making ice cream—it’s about creating something special at home. From blending fresh ingredients to watching your Ninja Creami work its magic, every step is fun and rewarding. Whether you’re treating yourself on a hot day or serving guests at dinner, this strawberry ice cream is sure to impress!
PrintNinja Creami Strawberry Ice Cream
Homemade strawberry ice cream that’s creamy, fresh, and naturally sweetened. Perfect for a low-carb treat or a summer indulgence, this recipe is beginner-friendly and customizable to fit your dietary needs.
- Prep Time: 5 minutes
- Cook Time: N/A
- Total Time: 24 hours 5 minutes (Including Freezing Time)
- Yield: 2 1x
- Category: Dessert
- Cuisine: American
Ingredients
- 1 cup heavy cream (or half-and-half for lighter texture)
- 1 cup frozen strawberries
- ½ tsp vanilla extract (or vanilla bean paste)
- 5 drops stevia extract
- 2 tbsp monk fruit sweetener
Substitutions:
- Use coconut cream for a dairy-free option.
- Swap frozen strawberries with fresh ones (freeze them first).
- Replace stevia with honey or agave syrup if preferred.
Instructions
Step 1: Blend the Base
- Combine heavy cream, frozen strawberries, vanilla extract, stevia, and monk fruit sweetener in a blender.
- Blend until smooth and creamy. The mixture should be thick but pourable.
- Taste the mixture and adjust sweetness if needed.
Step 2: Freeze the Mixture
- Pour the blended mixture into a Ninja Creami pint container, ensuring it doesn’t exceed the MAX FILL line.
- Secure the lid and freeze on a flat surface for 18–24 hours until completely solid.
Step 3: Process in the Ninja Creami
- Place the frozen pint in the Ninja Creami machine’s holder and attach the blade assembly securely.
- Select the “Ice Cream” or “Soft Serve” setting and let it process for about 2–3 minutes.
Step 4: Re-spin if Needed
- If the texture seems crumbly after processing, use the “Re-spin” function to smooth it out.
Step 5: Serve and Enjoy!
- Scoop into bowls or cones and enjoy as-is or with toppings like fresh berries or sugar-free chocolate chips.
Notes
Serving Suggestions:
- Serve in chilled bowls to keep it from melting too quickly. Pair with shortbread cookies or fresh fruit for an elegant touch.
Tips & Tricks:
- For extra flavor, use vanilla bean paste instead of extract—it adds beautiful vanilla specks to your ice cream!
- Avoid overfilling the pint container to ensure even freezing and processing.
Storage & Reheating:
- Store leftovers in the same pint container with a tight lid for up to one week in the freezer.
- If it hardens too much, let it sit at room temperature for 5–10 minutes before scooping or reprocess in the Ninja Creami.
This easy-to-make strawberry ice cream is not just a dessert—it’s an experience! Whether you’re cooling off on a hot day or serving guests, this recipe is sure to impress every time.

