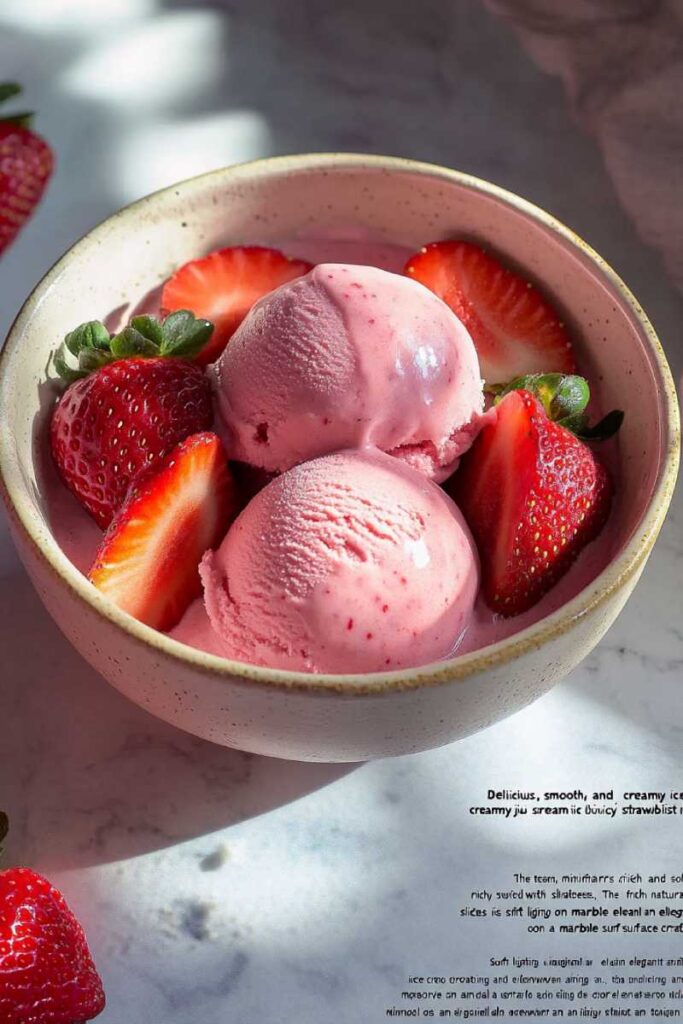
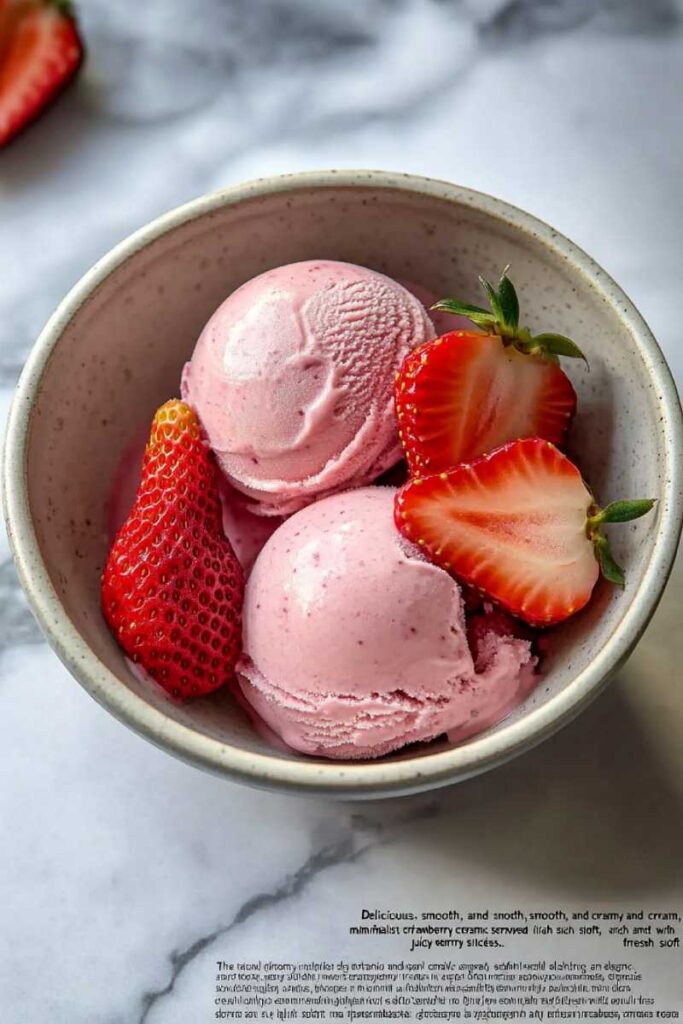
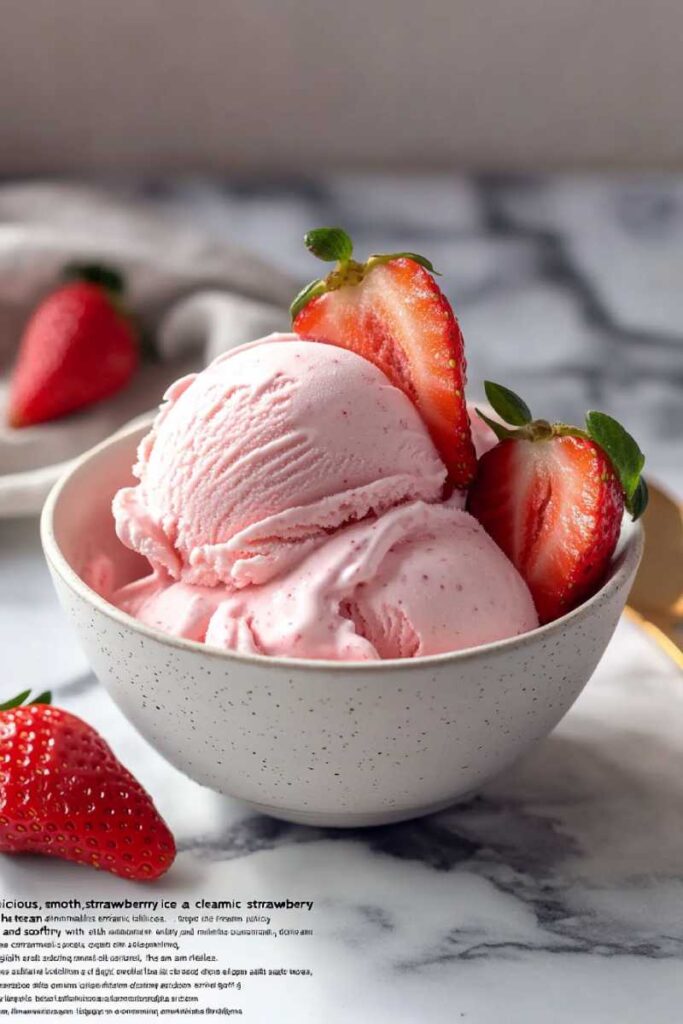
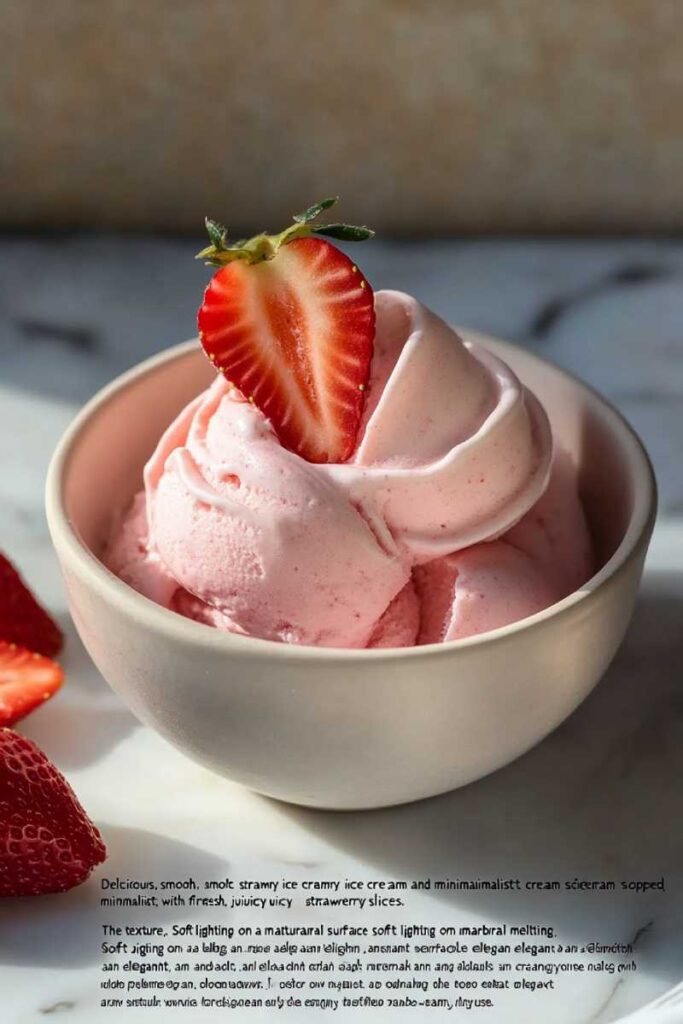
What if I told you there’s a dessert that’s creamy, refreshing, and packed with protein? And guilt-free? Meet the Ninja Creami Strawberry Cottage Cheese Ice Cream. It’s a fun twist on classic strawberry ice cream, but here’s the kicker — it uses cottage cheese as the base. That means more protein and less guilt.
This recipe is perfect for anyone who loves a sweet treat but doesn’t want to compromise on nutrition. The vanilla bean paste adds a fancy touch, while fresh strawberries bring natural sweetness. Whether you’re a kitchen pro or just starting out, you’ll love how easy (and delicious!) this is to make.

- Prep Time: 10 minutes
- Freeze Time: 24 hours
- Total Time: About 24 hours (but trust me, it’s worth the wait!)
- Servings: Makes one pint (enough for about 4 people)
- Difficulty: Super easy
What You’ll Need
- A Ninja Creami machine
- An immersion blender (or regular blender)
- Measuring cups and spoons
Pro tip: Want to meal prep? Make extra pints and freeze them for up to two weeks.
Ingredients
Here’s what you’ll need:
- 2 cups cottage cheese (1% or 2% fat works best)
- 1 cup chopped strawberries (fresh or frozen)
- 3 tablespoons honey (or your favorite sweetener)
- 1 teaspoon vanilla bean paste (or extract)
Substitutions:
- Swap cottage cheese with Greek yogurt for a tangy twist.
- No honey? Use agave, maple syrup, or stevia.
- Frozen strawberries work too — just let them thaw a bit first.

How to Make It
- Blend It All Together:
Toss the cottage cheese, strawberries, honey, and vanilla into your Ninja Creami pint container. Blend it until smooth with an immersion blender. No chunks allowed! If you’re using a regular blender, mix everything there first, then pour it into the container. - Freeze It:
Pop the lid on and freeze the container for at least 24 hours. Make sure it’s sitting flat so it freezes evenly. - Process in the Creami:
Once frozen solid, place the container in your Ninja Creami machine and select the “Lite Ice Cream” setting. Don’t panic if it looks crumbly after the first spin — that’s normal! - Re-spin for Perfection:
Run the “Re-spin” function to get that creamy texture we all love. If it’s still too crumbly (especially with low-fat cottage cheese), add a tablespoon of milk or water and re-spin again. - Serve It Up:
Scoop out your ice cream and enjoy! Want to get fancy? Add mix-ins like crushed graham crackers or chocolate chips after processing.
Ways to Customize
- Diet-Friendly Options:
- Vegan? Use silken tofu instead of cottage cheese and agave instead of honey.
- Gluten-free? Just double-check your mix-ins like graham crackers.
- Flavor Ideas:
- Go gourmet with a strawberry-basil combo by blending in fresh basil leaves.
- Add chocolate chunks for extra indulgence.
- Seasonal Swaps:
- Try peaches in summer or cranberries in winter.
- Add cinnamon or nutmeg for cozy holiday vibes.
- Everyday vs Fancy:
- Keep it simple for a quick treat.
- Dress it up with balsamic glaze or fresh mint for special occasions.
Serving Tips
- Serve in chilled bowls or waffle cones for extra fun.
- Garnish with sliced strawberries or crushed nuts for texture.
- Pair with cookies or brownies if you’re feeling indulgent.

Storage & Leftovers
Got leftovers? Store them right in the Ninja Creami pint container with the lid on tight. It’ll stay good in the freezer for up to two weeks. If it gets too hard, let it sit out for 5–10 minutes before serving.
Pro Tips
- Use full-fat cottage cheese for ultra-creamy results.
- If your freezer runs super cold, let the frozen pint sit at room temp for 5 minutes before processing.
- Don’t overdo the re-spin — too much can make it overly soft.

And there you have it! A creamy, protein-packed dessert that’s as easy to make as it is delicious to eat. Give it a try — your taste buds will thank you!
PrintNinja Creami Strawberry Cottage Cheese Ice Cream
A creamy, protein-packed twist on classic strawberry ice cream! Made with cottage cheese, fresh strawberries, and a touch of honey, this dessert is both nutritious and delicious. Perfect for a guilt-free treat that’s easy to whip up.
- Prep Time: 10 Minutes
- Cook Time: N/A
- Total Time: 24 hours 10 minutes (Including Freezing Time)
- Yield: 4 1x
- Category: Dessert
- Cuisine: American
Ingredients
- 2 cups cottage cheese (1% or 2% fat)
- 1 cup chopped strawberries (fresh or frozen)
- 3 tablespoons honey (or preferred sweetener)
- 1 teaspoon vanilla bean paste (or extract)
Instructions
- Blend the Base
- Combine cottage cheese, strawberries, honey, and vanilla in a Ninja Creami pint container.
- Use an immersion blender to puree until smooth. If using a regular blender, blend first and transfer to the container.
- Freeze the Mixture
- Cover the container with its lid and freeze on a flat surface for at least 24 hours.
- Process in Ninja Creami
- Place the frozen container in the Ninja Creami machine and select “Lite Ice Cream.” It may look crumbly after processing — that’s okay!
- Re-spin for Creaminess
- Run the “Re-spin” function to achieve a creamy texture. Add 1 tablespoon of milk or water if needed for smoother results.
- Serve & Enjoy
- Scoop out your ice cream and serve immediately. Add mix-ins like chocolate chips or crushed graham crackers if desired.
Notes
Serving Suggestions
- Serve in chilled bowls or waffle cones for an extra treat. Garnish with fresh strawberries or crushed nuts for added texture.
Tips & Tricks
- Use full-fat cottage cheese for a richer texture. If using frozen strawberries, let them thaw slightly before blending.
Storage & Reheating
- Store leftovers directly in the pint container with the lid tightly secured for up to two weeks. If it becomes too hard, let it sit at room temperature for 5–10 minutes before serving.
This concise recipe card format is perfect for easy reading while ensuring SEO optimization!

