There’s something special about the classic taste of a root beer float. Now imagine turning that into creamy, scoopable ice cream. Sounds fun, right? This Ninja Creami Root Beer Ice Cream recipe combines the fizzy sweetness of root beer with the smoothness of whipped topping. It’s nostalgic, refreshing, and super easy to make!

Quick Recipe Details
- Prep Time: 9 minutes (plus 24 hours to freeze)
- Servings: Makes 2-3 servings. Need more? Double or triple the ingredients and freeze in separate containers.
- Skill Level: Beginner-friendly!
What You’ll Need:
- Ninja Creami machine
- Measuring cup
- Whisk or spoon
- Pint container (comes with the Ninja Creami)
No Ninja Creami? You can try an ice cream maker, but the texture might change a bit.
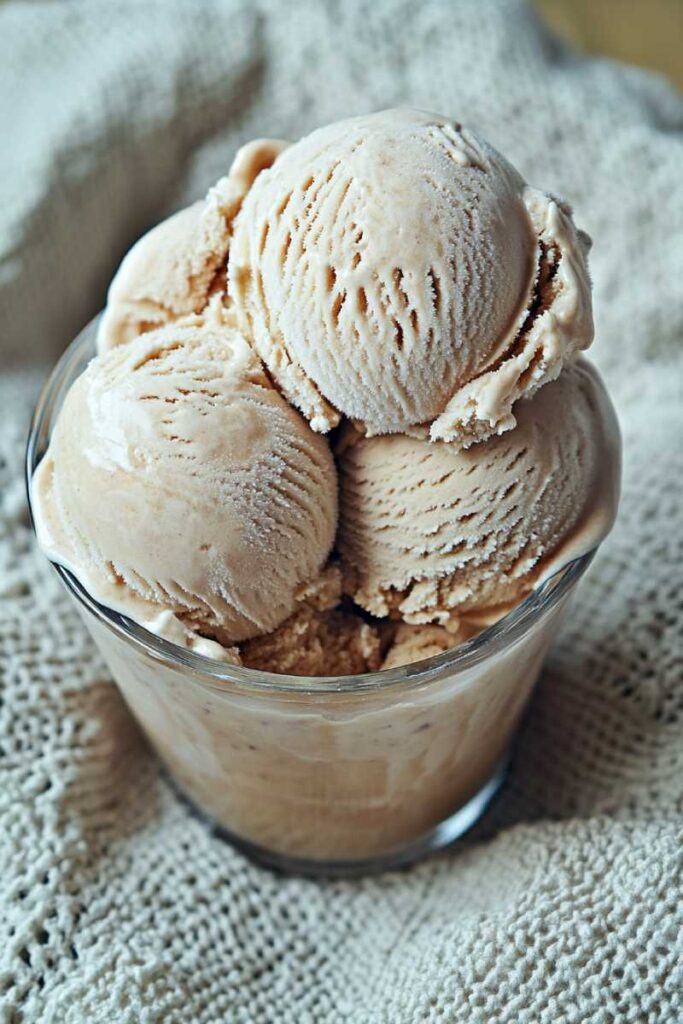
Ingredients
What You’ll Need:
- 12 oz root beer soda: Regular soda works best—skip diet versions for better texture.
- 1 packet Dream Whip mix: Adds creaminess and a hint of vanilla.
Substitutions:
- No Dream Whip? Try another powdered whipped topping mix or even instant pudding mix.
- Can’t find root beer soda? Use plain soda water with root beer extract instead.
Pro Tip: Use semi-flat soda to avoid too much fizz during freezing. Stir it for 4-5 minutes before mixing.
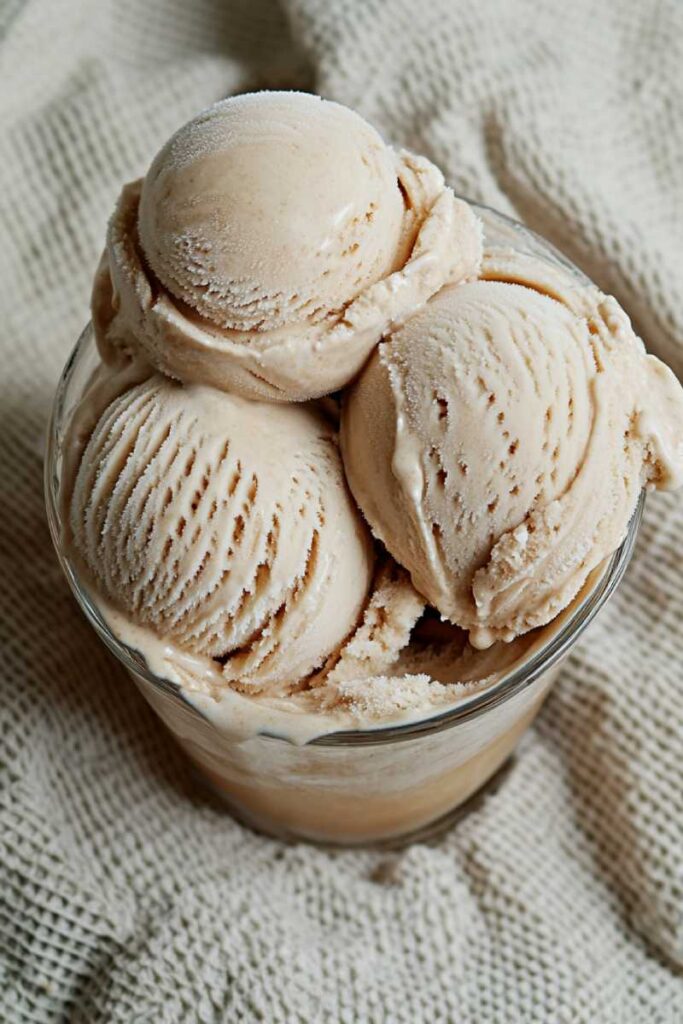
How to Make It
Step 1: Prep the Soda
Pour your root beer into a measuring cup and stir it gently for 4-5 minutes until it’s semi-flat. This step helps prevent gas buildup during freezing.
Step 2: Mix It Up
Add the Dream Whip mix to your flat root beer. Whisk until smooth—no lumps allowed! The mixture will look frothy at first but will settle down.
Step 3: Freeze It
Pour the mixture into your Ninja Creami pint container, leaving about ½ inch of space at the top for expansion. Loosely cover the lid to let any gas escape, then freeze for at least 24 hours.
Tip: Overfilling can cause uneven freezing—don’t skip that extra space!
Step 4: Process in the Ninja Creami
Once frozen solid, place the pint in your Ninja Creami machine and select “Lite Ice Cream.” If it looks crumbly after processing, hit “Re-spin” once or twice until creamy. Still not smooth? Add a tablespoon of water and re-spin again.
Fun Variations
- Vegan Option: Use plant-based whipped topping and vegan-friendly root beer.
- Low-Sugar Version: Opt for naturally sweetened root beer, but expect slight texture changes.
Want to get fancy? Top with whipped cream, caramel sauce, or chocolate drizzle for a soda shop vibe. Feeling seasonal? Add cinnamon or nutmeg for a fall-inspired twist.
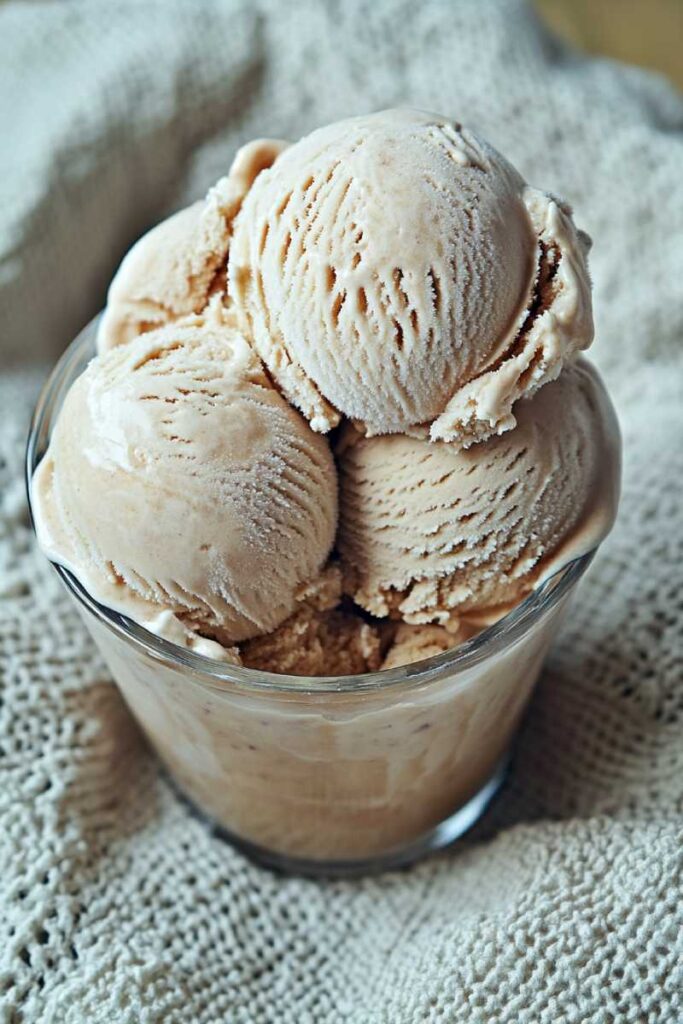
Serving & Storage Tips
- How to Serve: Scoop into chilled bowls or tall glasses. Add whipped cream and a cherry on top for extra flair!
- Storage: Keep leftovers in the pint container with a tight lid for up to two weeks in the freezer. If it hardens too much, let it sit at room temp for 5-10 minutes before scooping—or re-spin it in your machine.
This dessert is more than just ice cream—it’s a trip down memory lane! Perfect for summer barbecues or cozy nights in, this recipe is sure to be a hit with kids and adults alike. Give it a try and make it your own!
PrintNinja Creami Root Beer Ice Cream
Turn the nostalgic flavor of a root beer float into a creamy, dreamy dessert! This easy Ninja Creami Root Beer Ice Cream recipe combines fizzy root beer with whipped topping for a smooth, indulgent treat. Perfect for beginners and soda shop fans alike. Prep Time: 10 minutes
- Prep Time: 10 Minutes
- Cook Time: N/A
- Total Time: 24 hours 10 minutes (Including Freezing Time)
- Yield: 2–3 1x
- Category: Dessert
- Cuisine: American
Ingredients
- 12 oz root beer soda (semi-flat for best results)
- 1 packet Dream Whip mix (dry whipped topping mix)
Instructions
Step 1: Prep the Soda
- Pour root beer into a measuring cup or bowl. Stir gently for 4-5 minutes to release excess carbonation. The soda should taste semi-flat but still fizzy.
Step 2: Mix Ingredients
- Add the Dream Whip mix to the flat root beer. Whisk until fully dissolved and smooth. The mixture will look slightly frothy at first.
Step 3: Freeze the Mixture
- Pour the mixture into a Ninja Creami pint container, leaving about ½ inch of space at the top for expansion. Loosely cover the lid and freeze for at least 24 hours.
Step 4: Process in the Ninja Creami
- Place the frozen pint into your Ninja Creami machine. Select the “Lite Ice Cream” setting. If the texture is crumbly, use the “Re-spin” function once or twice until creamy. Add a tablespoon of water if needed and re-spin.
Notes
Serving Suggestions:
- Serve in chilled bowls or tall glasses for a soda shop vibe. Top with whipped cream and a cherry for extra flair!
Tips & Tricks:
- Use regular (not diet) root beer for better texture. Stirring it flat prevents gas buildup during freezing.
- Don’t overfill the pint container—leave space for expansion to avoid uneven freezing.
Storage Instructions:
- Store leftover ice cream in its original pint container with a tight lid for up to two weeks in the freezer. If it hardens too much, let it sit at room temperature for 5-10 minutes before scooping or re-spin in the Ninja Creami.
This simple recipe brings back childhood memories with every bite! Whether you’re hosting friends or treating yourself, this creamy root beer ice cream is sure to impress.
