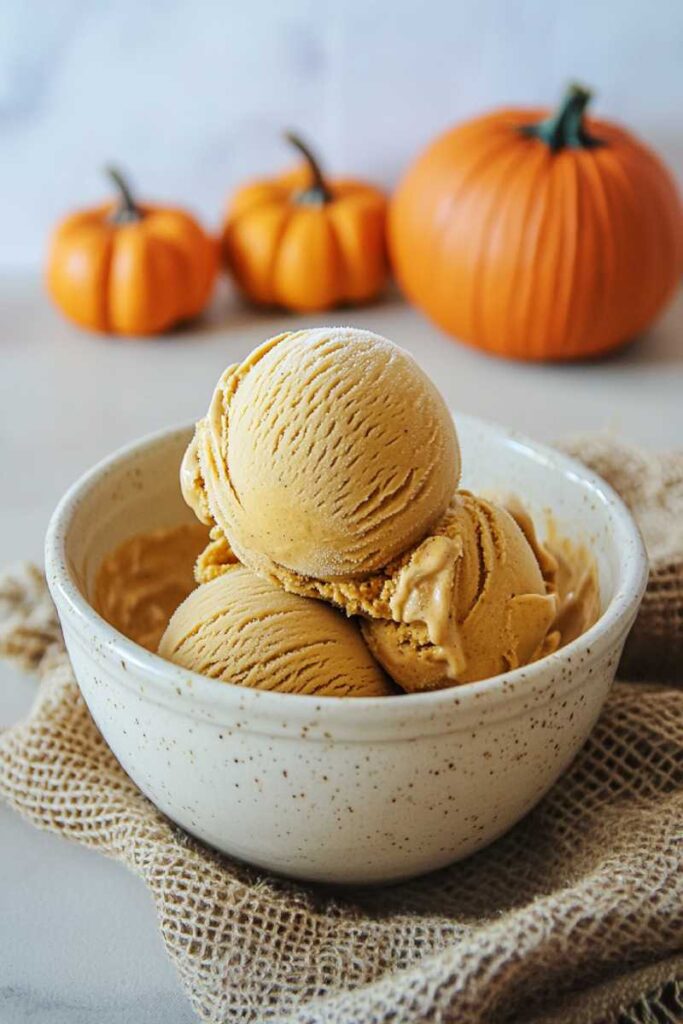
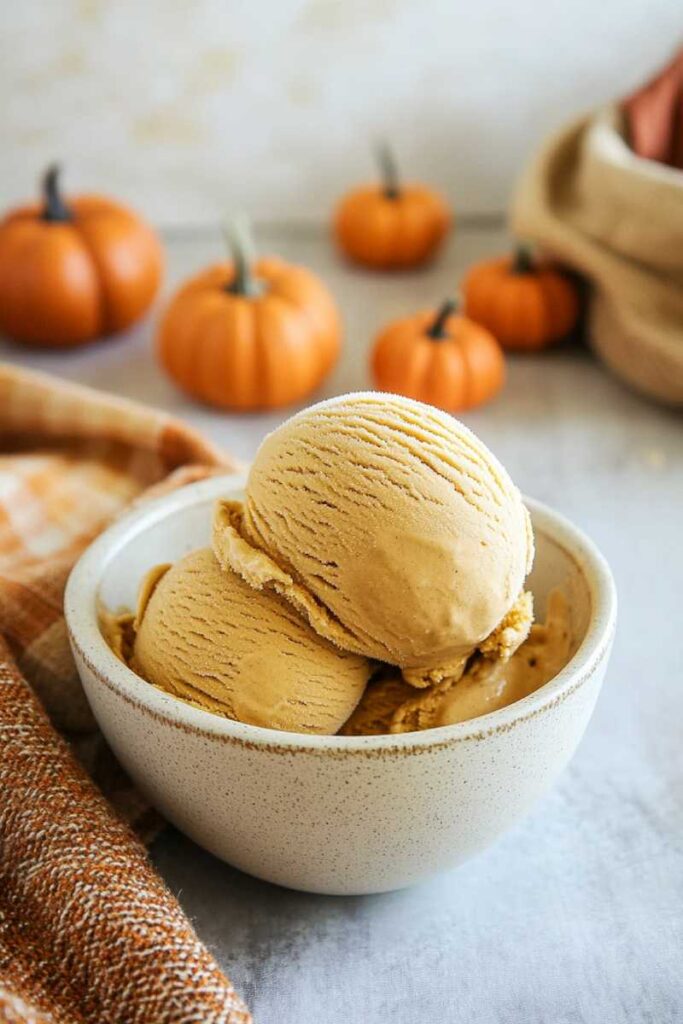
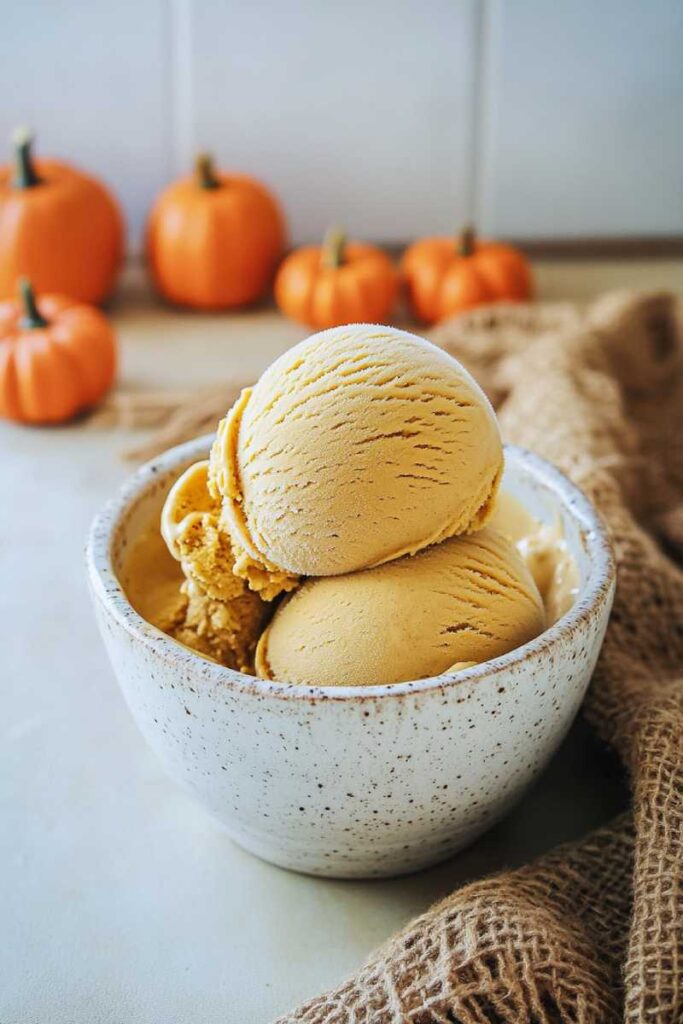
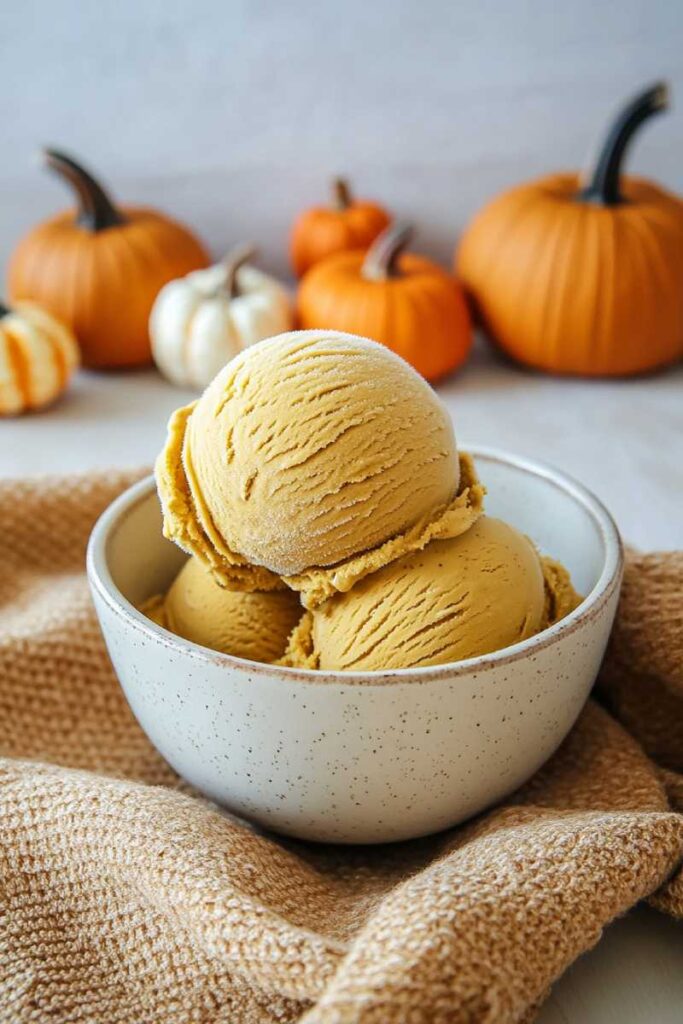
Pumpkin spice season is here! What better way to celebrate than whipping up some creamy, homemade pumpkin ice cream? This recipe combines the cozy flavors of pumpkin, warm spices, and a rich cream base to create the ultimate fall treat. The best part?
It’s super easy to make with the Ninja Creami. The result? Smooth, velvety ice cream that tastes like it came straight from a fancy dessert shop. Whether you’re new to the Ninja Creami or already a pro, this recipe will walk you through every step.

What You Need to Know
Time Commitment:
- Prep: 10 minutes
- Freeze: 22–24 hours before spinning
Servings:
Makes about 1 pint—perfect for 2–3 people. Need more? Just double or triple the recipe and freeze in separate containers.
Skill Level:
Totally beginner-friendly! The Ninja Creami does most of the work for you.
Equipment:
- Ninja Creami machine + pint container
- Mixing bowl
- Whisk or spatula
- Microwave (optional)
No Ninja Creami? No problem! You can use an ice cream maker or freeze the mixture in a container and stir every couple of hours. Just know the texture might not be quite as creamy.
Here’s what you’ll need:
- 1 tbsp cream cheese (softened)
- ½ tsp pumpkin spice mix
- ⅓ cup brown sugar
- 2 tbsp pumpkin puree (not pumpkin pie filling)
- 1½ tsp vanilla extract (or vanilla bean paste)
- 1 cup whole milk
- ¾ cup heavy cream
- Pinch of salt
Substitution Ideas:
- Cream Cheese: Swap for mascarpone for a richer taste or use reduced-fat cream cheese for a lighter option.
- Brown Sugar: Coconut sugar works too! For sugar-free, try monk fruit or erythritol.
- Pumpkin Puree: Homemade puree is great—just avoid sweetened pumpkin pie filling.
- Vanilla Extract: Vanilla bean paste adds extra flavor and those pretty speckles, but regular vanilla works just fine.

How to Make It
Step 1: Mix the Base
Start by softening your cream cheese—10 seconds in the microwave should do it. In a bowl, whisk together the cream cheese, pumpkin spice mix, and brown sugar until smooth. It’ll look like a thick paste—don’t worry, that’s what you want!
Step 2: Add Wet Ingredients
Mix in the pumpkin puree and vanilla extract until combined. Slowly whisk in the milk to avoid lumps, then stir in the heavy cream and salt. The base should be silky smooth with a light orange color.
Pro Tip: Softening the cream cheese is key! Skipping this step can leave you with clumps.
Step 3: Freeze It
Pour the mixture into your Ninja Creami pint container (don’t go over the max fill line). Pop on the lid and freeze on a flat surface for at least 22–24 hours.
Pro Tip: Level out the top before freezing—it helps with even processing later.
Step 4: Spin It
Once frozen solid, place the pint into your Ninja Creami machine and select “ICE CREAM” mode. If it looks crumbly after spinning, add a splash of milk or cream and hit “RE-SPIN” until it’s perfectly smooth.

Make It Your Own
Want to switch things up? Here are some ideas:
Dietary Tweaks:
- Dairy-Free: Use coconut milk or almond milk instead of dairy.
- Low-Sugar: Try monk fruit sweetener or erythritol instead of brown sugar.
- Vegan: Sub plant-based options like cashew cream for dairy ingredients.
Flavor Boosts:
- Love spice? Add an extra pinch of cinnamon or nutmeg. Prefer less? Cut back on the pumpkin spice mix.
Fancy Additions:
- Swirl caramel sauce into your ice cream after spinning for a decadent twist. Or sprinkle crushed graham crackers on top for that “pumpkin pie” vibe!
Serving & Storing Tips
Serve your pumpkin ice cream in bowls topped with whipped cream and a dash of cinnamon—or pair it with ginger snaps for some crunch! Got leftovers? Store them in the pint container in your freezer for up to a week. Just re-spin before serving to bring back that creamy texture.

And there you have it—a creamy, dreamy pumpkin ice cream that’s perfect for fall! So grab your ingredients and give it a try. Trust me, once you taste it, you’ll be making this all season long!
PrintNinja Creami Pumpkin Ice Cream
Celebrate the cozy flavors of fall with this creamy, homemade pumpkin spice ice cream. Made with real pumpkin puree, warm spices, and a luscious cream base, this dessert is easy to prepare using the Ninja Creami. Perfect for autumn gatherings or a quiet treat at home!
- Prep Time: 10 Minutes
- Cook Time: N/A
- Total Time: 24 hours 10 minutes (Including Freezing Time)
- Yield: 2–3 1x
- Category: Dessert
- Cuisine: American
Ingredients
- 1 tbsp full-fat cream cheese (softened)
- ½ tsp pumpkin spice mix
- ⅓ cup brown sugar
- 2 tbsp pumpkin puree (not pie filling)
- 1½ tsp vanilla extract or vanilla bean paste
- 1 cup whole milk
- ¾ cup heavy cream
- Pinch of salt
Instructions
Step 1: Prepare the Base
- Soften the cream cheese in the microwave for 10 seconds or until pliable.
- In a mixing bowl, whisk together softened cream cheese, pumpkin spice mix, and brown sugar until smooth and paste-like.
Step 2: Add Wet Ingredients
- Stir in pumpkin puree and vanilla extract until fully combined. Gradually whisk in whole milk to avoid lumps.
- Add heavy cream and a pinch of salt, stirring until the mixture is silky smooth with no clumps.
Step 3: Freeze the Base
- Pour the mixture into a Ninja Creami pint container, ensuring it doesn’t exceed the max fill line. Level the surface for even freezing.
- Secure the lid and freeze on a flat surface for at least 22–24 hours.
Step 4: Spin into Ice Cream
- Once frozen solid, place the container into the Ninja Creami machine and select “ICE CREAM” mode. If crumbly after spinning, add a splash of milk or cream and use “RE-SPIN” for a smoother texture.
Notes
Serving Suggestions:
- Serve in bowls with whipped cream and a sprinkle of cinnamon for an elegant touch. Pair with ginger snaps or pecan pralines for added crunch!
Tips & Tricks:
- No Ninja Creami? Use an ice cream maker or freeze in a container, stirring every couple of hours (though texture may vary).
- For extra warmth, add more cinnamon or nutmeg to taste. Prefer less spice? Reduce pumpkin spice mix to ¼ tsp.
Storage Instructions:
- Store leftovers in the pint container for up to one week in the freezer. Re-spin before serving to restore creaminess—do not microwave!
This recipe brings together rich autumn flavors in an easy-to-make dessert that’s sure to impress family and friends alike!

