You know that magical moment when a Dairy Queen Blizzard is flipped upside down without spilling a drop? That thick, creamy texture and the perfect mix-ins? Pure joy. Now, imagine being able to whip up that same indulgent treat at home. No drive-thru. No lines. Just you, your kitchen, and the Ninja Creami.
This recipe will walk you through how to make a delicious, Blizzard-style dessert that feels just like the real deal. The best part? You’re in total control. Want extra Reese’s? Sure. No peanuts? Easy. Get ready to customize your dessert exactly how you love it.
Prep at a Glance
Time
- Hands-on work: 15 minutes
- Freezing time: 24 hours
- Total: 24 hours, 15 minutes
Serving Size
One pint (serves two). Want to make more? Prep additional pints and freeze them separately. Trust me, the Ninja Creami does its best work in single-pint batches.
Skill Level
Beginner! If you can follow a few simple steps and have patience during the freezing process, you’re set.
What You’ll Need
- Ninja Creami (the star of the show)
- Pint container (comes with the machine)
- Immersion blender (or a whisk or regular blender if needed)

Ingredients
Here’s what you’ll need for a basic pint of creamy, dreamy Blizzard-style ice cream:
- 1 cup whole milk (or low-fat milk—it works, but it’s less creamy)
- 3/4 cup Cool Whip (for that light, fluffy touch)
- 1 tbsp Junket Vanilla Ice Cream Mix (helps keep your ice cream smooth)
- 1/2 cup heavy cream (brings richness into the mix)
- 1 tsp vanilla extract (classic flavor, of course)
- 1/4 cup chopped Mini Reese’s (or any mix-ins you love—Oreos, Snickers, M&Ms…the world is your sundae bar)
Substitutions:
- Dairy-free? Use almond or oat milk and a plant-based whipped topping.
- No Junket mix? Pudding mix or even a little cornstarch works.
- Want to experiment? Try different candies, cookies, or even fruit chunks.
Tip: Chill all your ingredients beforehand. It makes a big difference in blending and freezing.
How to Make It
Step 1: Mix the Base
In a mixing bowl, combine the milk, Cool Whip, and Junket Vanilla Ice Cream Mix. Blend with an immersion blender until smooth. This step is key to a creamy texture—no grainy bits, please.
Step 2: Add the Rich Stuff
Stir in the heavy cream and vanilla extract. Use a spoon and go easy here. You want it mixed, not whipped.
Step 3: Freeze It Solid
Pour the mixture into your Ninja Creami pint container. Snap on the lid and freeze it flat for at least 24 hours. It needs to be rock solid before the fun starts.
Step 4: Spin It to Perfection
Pop your frozen pint into the Ninja Creami. Lock it in place and press the “Ice Cream” button. Let the machine work its magic.
Pro Tip: If it looks crumbly after the first spin, no stress. Add a splash of milk or cream and hit “Re-spin.” Smooth as silk.
Step 5: Add Your Mix-ins
Make a small hole in the middle of your ice cream with a spoon (don’t go all the way to the bottom!). Toss in your chopped mix-ins—Mini Reese’s, Oreos, or whatever you’re craving. Put the pint back in the machine and press “Mix-In.”
Note: Chop mix-ins into small pieces to avoid jamming the machine.
Variations to Try
Want to shake things up? Here are a few ideas:
- Dairy-free Version: Use plant-based ingredients and candies.
- Cutting Back Sugar: Sub sugar-free pudding mix and low-sugar chocolate.
- Spicy Twist: Add a pinch of cinnamon or cayenne for a bold kick.
- Seasonal Flavors: Crushed peppermint candies for winter, fresh strawberries in summer.
Serving and Storing
How to Serve
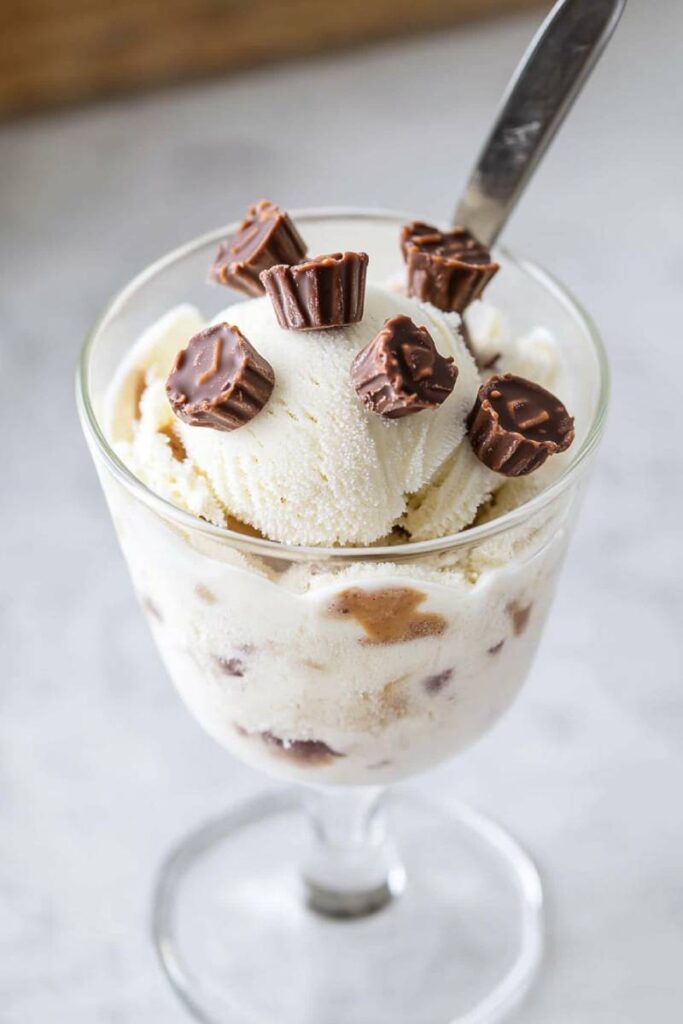
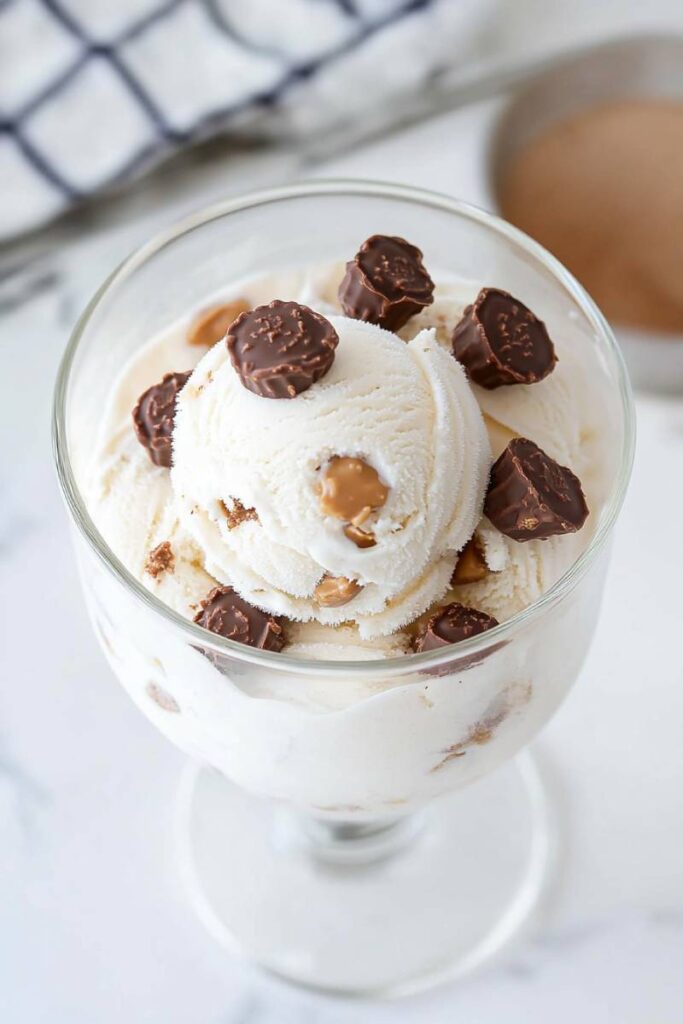
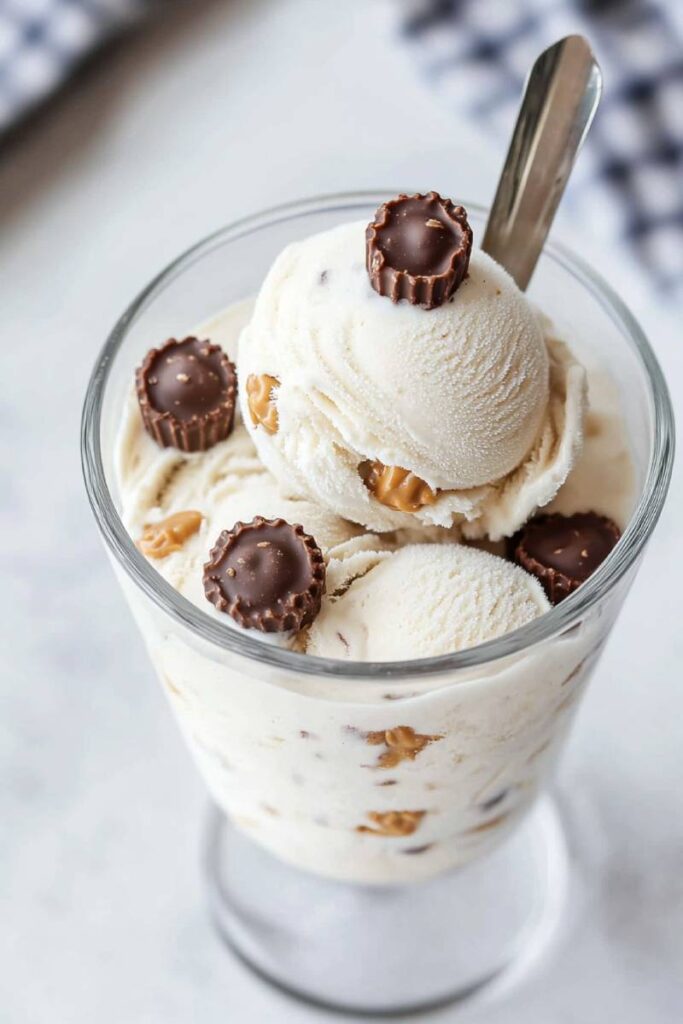
Scoop your homemade Blizzard into a chilled bowl or glass, just like they do at Dairy Queen. Sprinkle a few extra mix-ins on top for that Instagram-worthy finishing touch.
Got Leftovers?
Store your ice cream in the pint container with the lid tightly sealed. It’ll keep in the freezer for up to a week.
Frozen solid? Let it sit out for 5–10 minutes, then re-spin in the Ninja Creami to bring back the creamy texture.
And that’s it! You’ve just made your very own copycat Dairy Queen Blizzard. The best part? You can tweak every pint to your taste. Whether you stick with the classics or get creative with new flavors, this recipe will definitely hit the sweet spot. Happy spinning!
PrintNinja Creami Copycat Dairy Queen Blizzard
Recreate the creamy, indulgent magic of a Dairy Queen Blizzard in your own kitchen! This easy recipe uses the Ninja Creami to deliver a perfectly smooth, customizable frozen treat with your favorite mix-ins.
- Prep Time: 15 minutes
- Cook Time: N/A
- Total Time: 24 hours 15 minutes (Including Freezing Time)
- Yield: 2 1x
- Category: Dessert
- Cuisine: American
Ingredients
- 1 cup whole milk (or low-fat milk)
- 3/4 cup Cool Whip (or homemade whipped cream)
- 1 tbsp Junket Vanilla Ice Cream Mix (or pudding mix as a stabilizer)
- 1/2 cup heavy cream
- 1 tsp vanilla extract
- 1/4 cup Mini Reese’s Cups (chopped, or your favorite mix-ins)
Instructions
Step 1: Prepare the Base
In a mixing bowl, combine milk, Cool Whip, and Junket Vanilla Ice Cream Mix. Blend with an immersion blender until smooth. Stir in heavy cream and vanilla extract gently.
Step 2: Freeze the Base
Pour the mixture into a Ninja Creami pint container. Seal tightly and freeze for 24 hours on a flat surface. The base must be completely solid.
Step 3: Spin to Ice Cream
Place the frozen container in the Ninja Creami machine, lock it in, and press the “Ice Cream” button. If the texture appears crumbly, add a splash of milk or cream and re-spin.
Step 4: Add Mix-ins
Using a spoon, create a small hole in the center of the ice cream. Add your chopped mix-ins (like Mini Reese’s Cups) into the hole. Reinsert the pint and press the “Mix-In” button.
Step 5: Serve and Enjoy
Scoop into a bowl or glass and top with extra mix-ins, if desired. Serve immediately!
Notes
Serving Suggestions:
- Use a chilled bowl for an authentic Blizzard experience.
- Pair with warm brownies or cookies for a decadent dessert combo.
Tips & Tricks:
- Chop larger mix-ins into small pieces to avoid jamming the machine.
- For extra creaminess, always chill ingredients before blending.
Storage:
- Store leftovers in the pint container with the lid sealed for up to 1 week in the freezer.
- Re-spin frozen leftovers in the Ninja Creami for the best texture before serving.
This simple recipe brings a bit of Dairy Queen magic to your kitchen with endless flavor possibilities. Customize it to suit your cravings, and enjoy a Blizzard-inspired treat without leaving home!