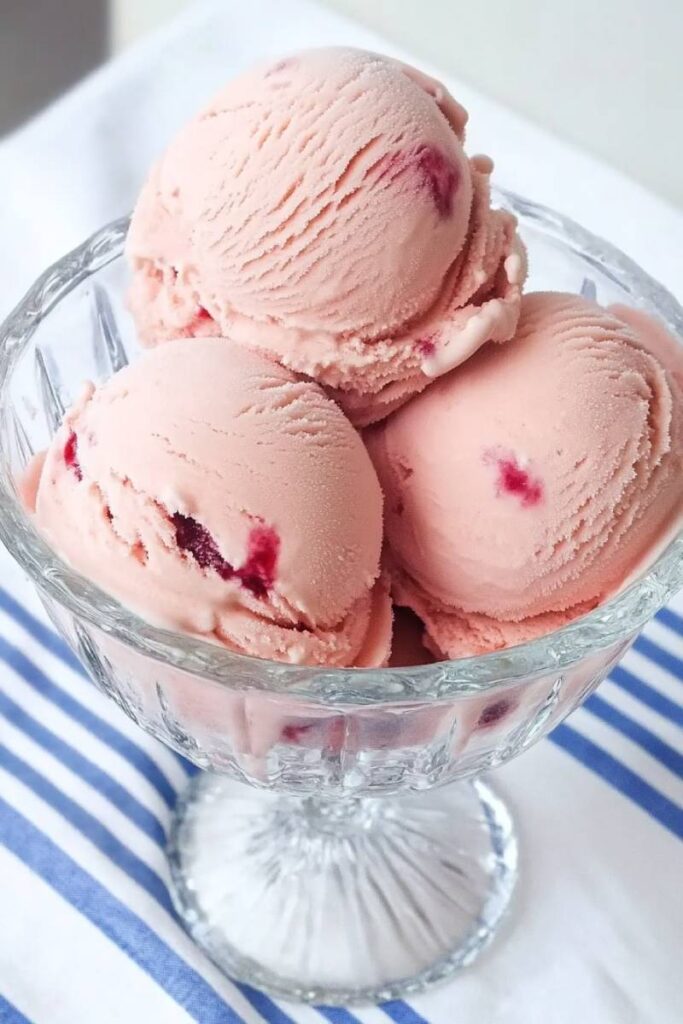
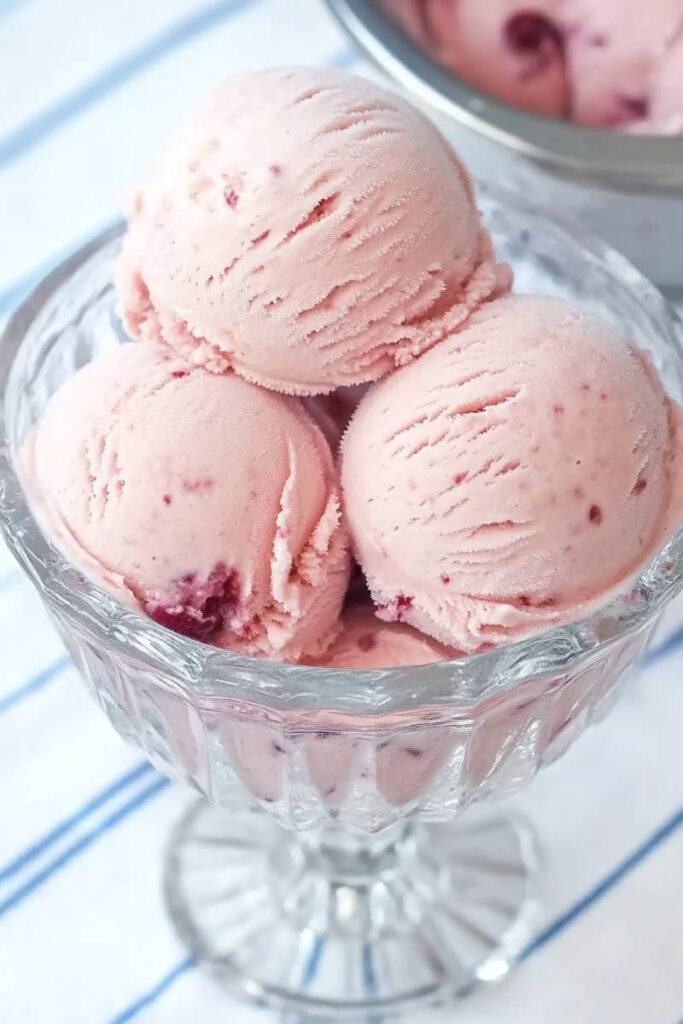
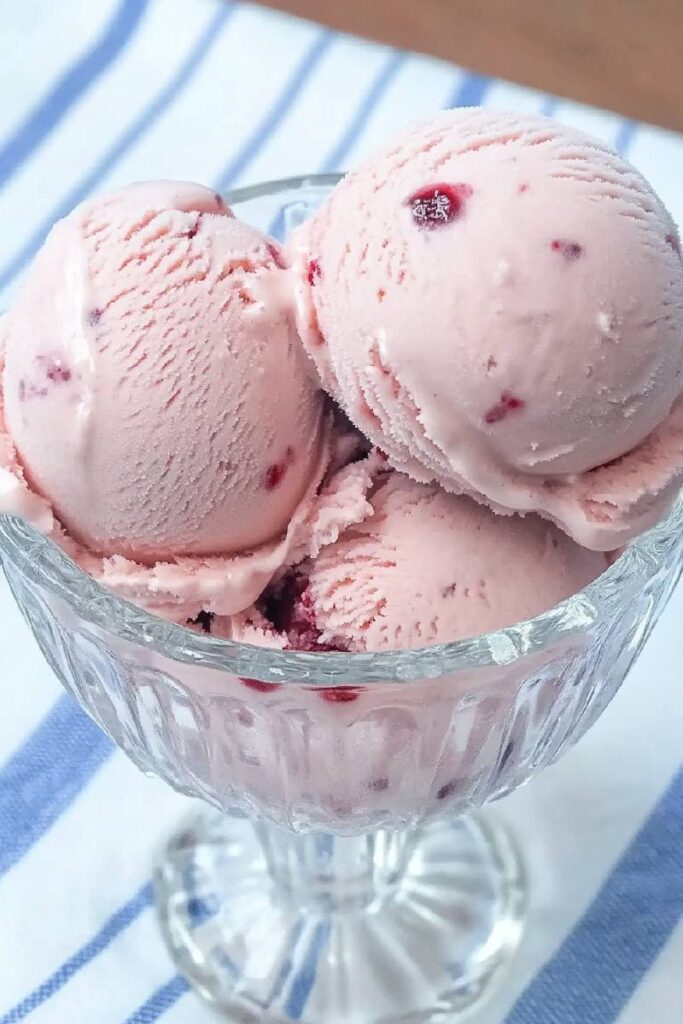
Homemade ice cream? There’s nothing like it. And with the Ninja Creami, the options are endless. Today, I’m sharing a fun and simple recipe for Cherry Cheesecake Ice Cream that tastes just like a slice of your favorite dessert. It’s creamy, tangy, and bursting with cherry goodness. Whether you’re whipping this up for a party or a cozy night in, it’s guaranteed to hit the spot.The best part? You don’t need to be a pro to make it. Let’s dive in.
Quick Recipe Highlights
Here’s what you need to know:
- Prep time: 10 minutes (but remember—it needs to freeze overnight).
- Serving size: Makes just enough for 2–3 people. Want more? Double or triple it!
- Skill level: Super easy. If you can mix, you can make this.
What you’ll need:
- A Ninja Creami (obviously).
- A mixing bowl, whisk, or spoon.
- One pint container (the one that comes with your Creami works great).
No Ninja Creami? No problem. Simply freeze the mix in a container, then blend it in a high-powered blender for a similar result.

The Ingredients
Here’s the full rundown of what goes into this delicious treat:
- 3/4 cup whole milk – Makes it creamy.
- 4 tablespoons instant cheesecake pudding mix – For that classic cheesecake flavor.
- 1/2 cup heavy cream – Adds richness.
- 1/2 teaspoon vanilla extract – A little goes a long way.
- 3/4 cup cherry pie filling – Sweet, tangy, and loaded with flavor.
Substitutions (Because No One Likes Running to the Store):
- Dairy-free? Use almond or coconut milk and swap coconut cream for heavy cream.
- Watching sugar? Use fresh or frozen cherries instead of pie filling and sweeten them yourself.
- Can’t find cheesecake pudding? Use vanilla pudding and add a splash of lemon juice for that tangy kick.
How to Make It
Step 1: Mix the Base
Grab a bowl or measuring cup and whisk together the milk and cheesecake pudding mix. It’ll thicken up a bit—that’s exactly what you want.
Step 2: Add the Good Stuff
Stir in the heavy cream, vanilla extract, and cherry pie filling. Don’t overmix the cherries—you want some nice chunks of fruit in there.
Step 3: Freeze It
Pour the mixture into your pint container. Leave a little room at the top (no one likes overflow). Pop the lid on and place it in the freezer for at least 24 hours.
Step 4: Process
Once it’s frozen solid, attach the pint to your Ninja Creami and select the “Ice Cream” function. Let the magic happen.
Step 5: Check the Texture
If it’s crumbly, hit the “Re-spin” button until smooth. If it’s still not quite there, add a splash of milk and re-spin.
Step 6: Add Mix-Ins (Optional)
Want to get fancy? After processing, dig a little well in the center and toss in crushed graham crackers or chocolate chips. Use the “Mix-In” function to combine.
Make It Your Own
- Diet-Friendly? Turn it vegan with plant-based milk and cream.
- Low-Sugar? Try sugar-free cherry pie filling or sweeten fresh cherries instead.
- Seasonal Swap: Use peaches, raspberries, or even cranberries depending on the time of year.
Feeling indulgent? Add a drizzle of chocolate or a dollop of whipped cream.
Want to keep it simple? Enjoy it straight out of the pint.
Tips for Serving and Storing
Serving suggestions:
- Scoop it into chilled bowls or waffle cones.
- Top with fresh cherries or crushed graham crackers for extra yum.
Leftovers:
Store any extras in the pint container. It’ll keep in the freezer for up to two weeks. Before digging in, let it sit on the counter for about 10 minutes to soften. That’s it! A simple, crowd-pleasing recipe for Cherry Cheesecake Ice Cream. It’s creamy, fruity, and just plain delicious. Whether you’re treating yourself or making dessert for friends, this recipe is a guaranteed hit. Go ahead—give it a try. Your taste buds will thank you!
PrintNinja Creami Cherry Cheesecake Ice Cream Recipe

This Cherry Cheesecake Ice Cream is creamy, tangy, and loaded with fruity cherry goodness. Made in the Ninja Creami, it’s an easy way to enjoy the flavors of cheesecake in frozen form. Perfect for dessert lovers and ice cream enthusiasts alike.
- Prep Time: 10 minutes
- Cook Time: N/A
- Total Time: 24 hours 10 minutes (Including Freezing Time)
- Yield: 2-3 1x
- Category: Dessert
- Cuisine: American
Ingredients
- 3/4 cup whole milk
- 4 tbsp instant cheesecake pudding mix
- 1/2 cup heavy cream
- 1/2 tsp vanilla extract
- 3/4 cup cherry pie filling
Substitutions:
- Dairy-free: Swap whole milk with almond or coconut milk and use coconut cream instead of heavy cream.
- Low-sugar: Replace cherry pie filling with fresh cherries sweetened to taste.
Instructions
Step 1: Mix the Base
In a bowl, whisk whole milk and cheesecake pudding mix until no lumps remain. The mixture will thicken slightly.
Step 2: Add Remaining Ingredients
Gently stir in heavy cream, vanilla extract, and cherry pie filling. Don’t overmix to keep cherry chunks intact.
Step 3: Freeze
Pour the mixture into a Ninja Creami pint container, leaving room at the top. Seal tightly and freeze for 24 hours.
Step 4: Process
Attach the frozen pint to your Ninja Creami, process using the “Ice Cream” setting, and watch magic unfold.
Step 5: Adjust Texture
If the texture looks crumbly, select “Re-spin.” Add 1–2 tbsp milk and re-spin again if needed for smooth consistency.
Step 6: Optional Mix-Ins
For extra fun, dig a small well in the ice cream and add crushed graham crackers or chocolate chips. Use the “Mix-In” setting.
Notes
Serving Suggestions:
- Serve in chilled bowls or waffle cones.
- Top with fresh cherries or graham cracker crumbs for extra flavor.
Tips & Tricks:
- Don’t overfill the pint—it needs space to expand as it freezes.
- Use high-quality cherry pie filling for the best results.
Storage:
- Store leftovers in the same pint container. Keeps well in the freezer for up to 2 weeks.
- Let it sit at room temperature for about 10 minutes before scooping for easier serving.
Enjoy the creamy, tangy goodness of Cherry Cheesecake Ice Cream! A perfect treat, no matter the season.