You know that nostalgic, sweet taste of cake batter—the kind that brings you straight back to childhood? Now imagine turning that into the creamiest, most delicious ice cream you can make right at home. Sounds amazing, right?
With this Ninja Creami Cake Batter Ice Cream recipe, you get all the fun of birthday cake flavor in every spoonful. Whether you’re celebrating something special or just craving a sweet treat, this recipe is super easy and a total crowd-pleaser. Let’s get started!
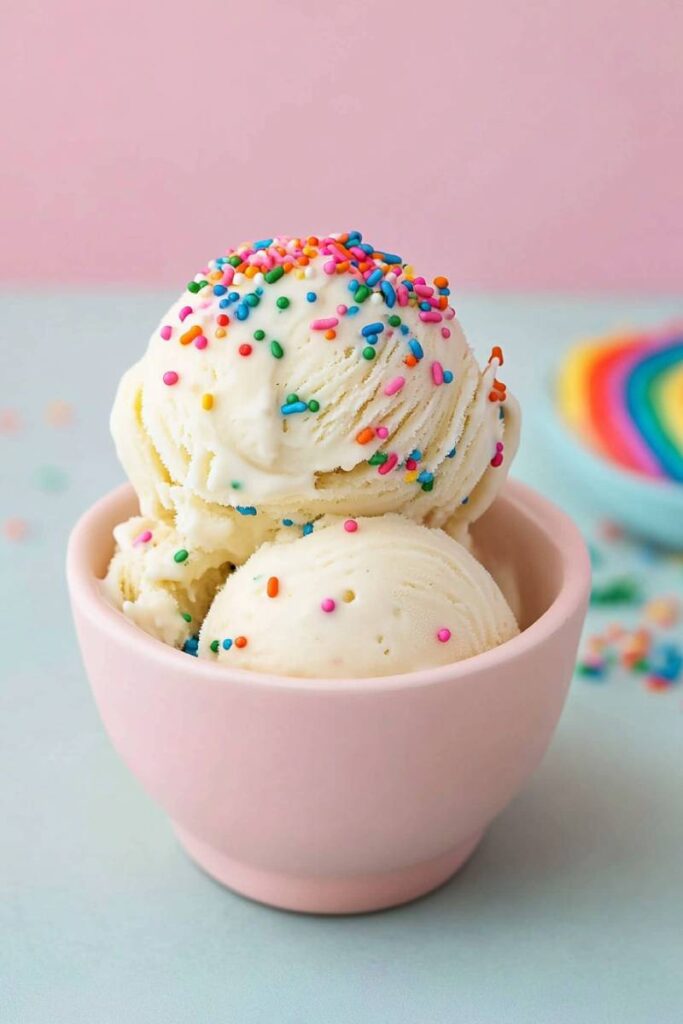
The Basics
Here’s what you need to know before diving in:
- Prep Time: About 10 minutes of hands-on work, plus 24 hours of freezing.
- Servings: Makes one pint, enough for 2-4 servings (or one, if you’re really in the mood).
- Difficulty Level: Easy. Just follow the steps, and you’re golden.
Equipment Checklist
- Ninja Creami Ice Cream Maker
- Medium saucepan
- Whisk
- Fine-mesh sieve (or a coffee filter in a pinch)
- Measuring cups and spoons
Ingredients
Here’s everything you’ll need:
- ½ cup yellow cake mix: That’s the secret to the cake batter vibe.
- ¼ teaspoon xanthan gum: Keeps it creamy and smooth.
- ¾ cup heavy whipping cream: For that rich, velvety texture.
- ¾ cup whole milk: Lightens it up just enough.
- 2 teaspoons vanilla extract: The flavor booster you can’t skip.
- 2 tablespoons sprinkles (optional): Because sprinkles make everything better.
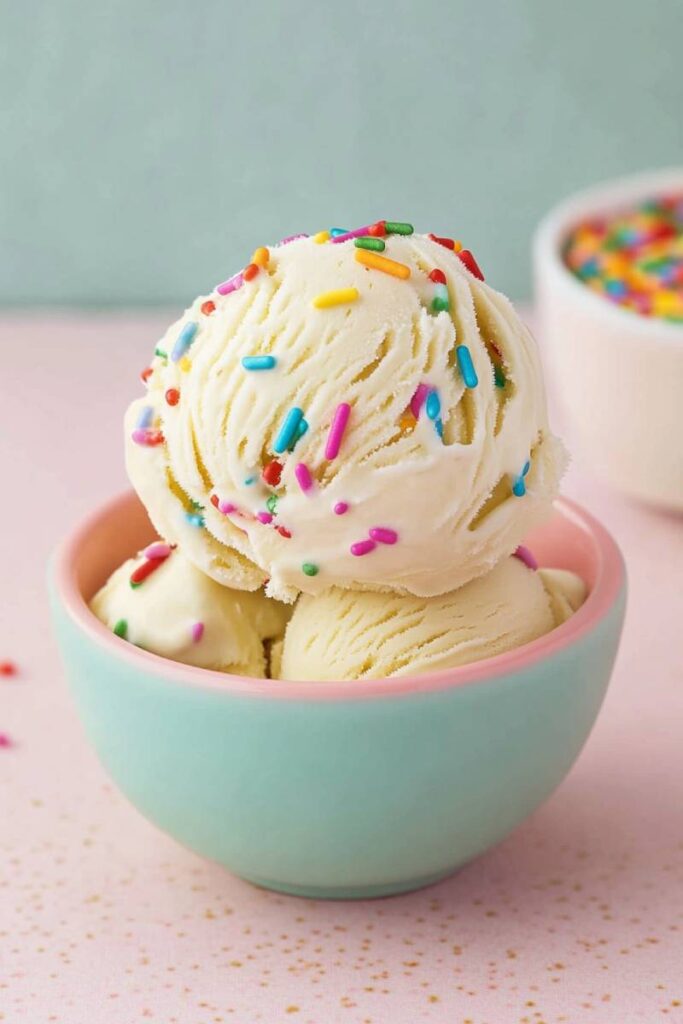
Swaps & Substitutes
- Gluten-free? Use gluten-free cake mix.
- Dairy-free? Substitute with almond or oat milk and coconut cream. (Heads up: the texture might change a bit.)
- No xanthan gum? Try guar gum, or skip it if you don’t mind slightly less creaminess.
How to Make It
Step 1: Prep the Cake Mix
Heat the cake mix in a saucepan over medium-low heat. Stir constantly until it hits 160°F. This gets rid of any raw flour issues. Don’t have a thermometer? No worries—just look for a slight color change.
Step 2: Add Xanthan Gum
Whisk the xanthan gum into the heated cake mix until it’s smooth. No lumps allowed!
Step 3: Mix in the Dairy
Slowly pour in the heavy cream and milk while whisking. Once it’s smooth, cook for another 2 minutes to make sure everything is fully combined.
Step 4: Add Vanilla
Take the pan off the heat and stir in the vanilla extract. Your kitchen will smell amazing.
Step 5: Strain and Freeze
Strain the mixture into a Ninja Creami pint container to catch any lumps. Let it cool for about 20 minutes, then seal it up and freeze for 24 hours.
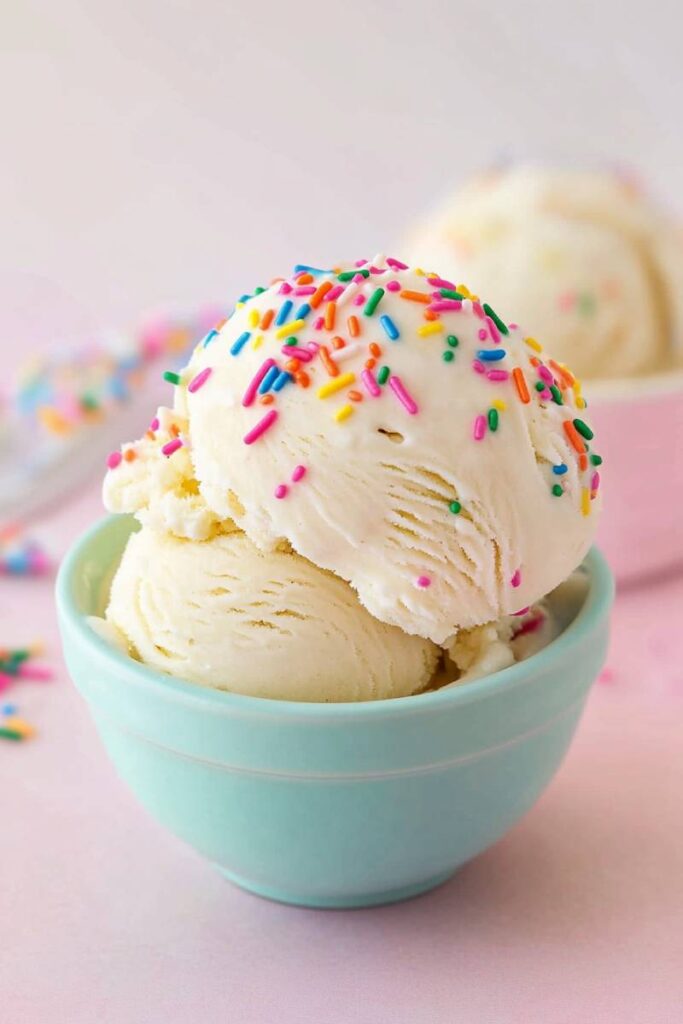
Spinning Time
Step 6: Spin the Base
Take your frozen pint, pop it into the Ninja Creami, and select the “Ice Cream” setting. If it looks crumbly after the first spin—that’s normal! Don’t stress.
Step 7: Respin
Scrape down the sides, hit “Respin,” and watch it turn silky smooth. Still not creamy enough? Give it another spin using the “Mix-In” setting.
Step 8: Sprinkles (Optional)
If you’re adding sprinkles, make a little well in the center of the ice cream, toss them in, and hit “Mix-In” again.
Step 9: Dig In!
Scoop it straight from the pint and enjoy every creamy bite.

Fun Ways to Customize
- Gluten-Free or Dairy-Free? No problem—just make those substitutions we talked about earlier.
- Feeling Fancy? Add caramel swirls, chocolate chunks, or crushed cookies after spinning.
- Seasonal Spins: Try pumpkin spice in fall or peppermint extract during the holidays.
Serving Tips
- Serve it in colorful bowls with extra sprinkles for a party-ready look.
- Pair it with warm brownies, cookies, or even apple pie (trust me, it’s amazing).
Got Leftovers?
Store your ice cream in the Ninja Creami pint or transfer it to an airtight container. Smooth out the surface before refreezing to avoid ice crystals.
And that’s it! With the Ninja Creami, making this cake batter ice cream is so simple and fun, you’ll want to whip up a batch for every occasion—or no occasion at all. Time to relive those birthday party vibes. Enjoy!
PrintNinja Creami Cake Batter Ice Cream
Transform the nostalgic sweetness of cake batter into a creamy, dreamy ice cream with this easy Ninja Creami recipe. Whether it’s a celebration or an everyday treat, this dessert will quickly become a favorite!
- Prep Time: 10 minutes
- Cook Time: 5 minutes
- Total Time: 24 hours 15 minutes (Including Freezing Time)
- Yield: 2-4 1x
- Category: Dessert
- Cuisine: American
Ingredients
- ½ cup yellow cake mix
- ¼ tsp xanthan gum
- ¾ cup heavy whipping cream
- ¾ cup whole milk
- 2 tsp pure vanilla extract
- 2 tbsp sprinkles (optional)
Instructions
Step 1: Heat the Cake Mix
- Heat the cake mix in a saucepan over medium heat, stirring constantly, until it reaches 160°F. This step eliminates any raw flour taste.
Step 2: Combine Ingredients
- Whisk xanthan gum into the heated cake mix until smooth. Slowly add the heavy whipping cream and milk, stirring continuously. Cook for 2 minutes, then remove from heat and stir in vanilla extract.
Step 3: Strain & Cool
- Strain the mixture into the Ninja Creami pint to remove lumps. Let it cool for 20 minutes, cover, and freeze for at least 24 hours.
Step 4: Spin the Ice Cream
- Insert the frozen pint into the Ninja Creami and select the “Ice Cream” setting. If crumbly, use the “Respin” button until smooth.
Step 5: Add Sprinkles (Optional)
- For a fun touch, add sprinkles and process on the “Mix-In” setting.
Step 6: Serve
- Scoop and enjoy your creamy cake-batter-flavored ice cream immediately!
Notes
Serving Suggestions:
- Pair with brownies, cookies, or fresh berries for a fun twist.
Tips & Tricks:
- Don’t skip heating the cake mix to avoid raw flour taste.
- If the ice cream feels too dense after freezing, let it soften for 10 minutes on the counter before spinning.
Storage Instructions:
- Store leftover ice cream in an airtight container, smoothing the top to prevent ice crystals. Enjoy it within 1-2 weeks for the best texture!
This recipe is quick to make, customizable, and perfect for creating a nostalgic dessert everyone will love.
