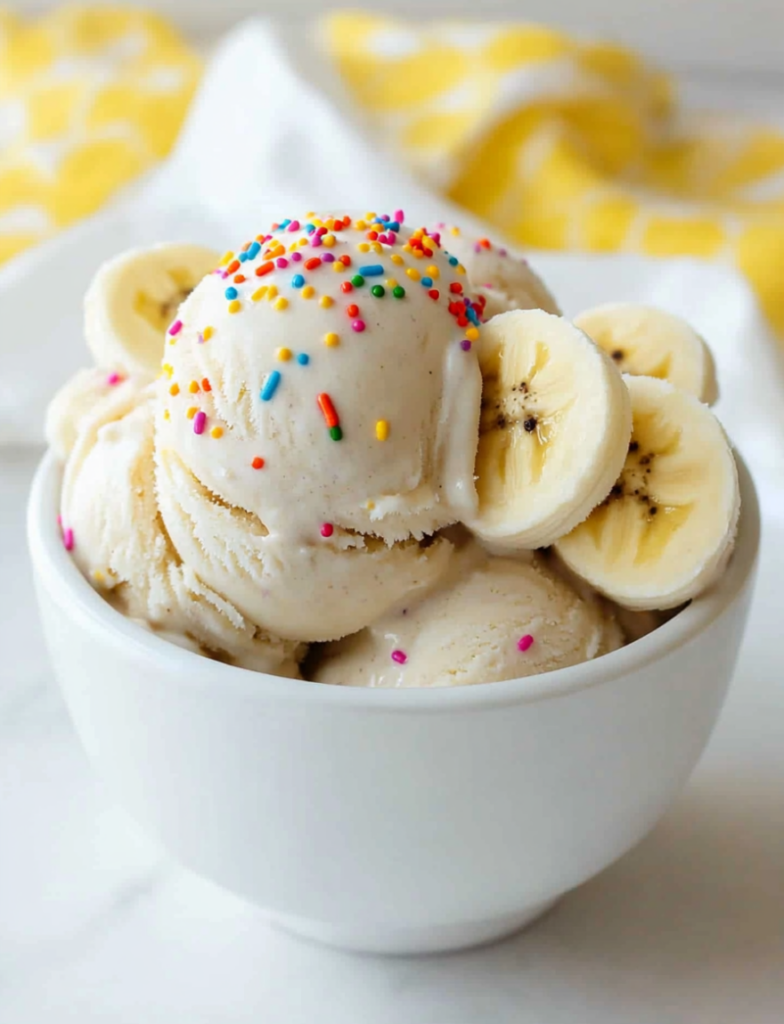
Banana ice cream. A classic, right? Sweet, simple, and oh-so-creamy. With the Ninja Creami, you can whip it up at home without breaking a sweat. This recipe? Just ripe bananas, a splash of maple syrup, and a hint of vanilla. That’s it. Whether you’re a pro at making ice cream or just getting started, I’ll walk you through every step. Let’s do this.
Quick Overview
Time Needed:
- Prep: 10 minutes.
- Freezing: 24 hours (yep, patience required).
Servings:
- Makes one pint—enough for two servings. Want more? Double or triple the recipe in separate containers.
How Easy Is It?
- Super beginner-friendly. No fancy skills required.
What You’ll Need:
- A Ninja Creami machine.
- An immersion blender (or just a fork and whisk).
Ingredients
Here’s what you’ll need to get started:
- 2 small ripe bananas (about 8 ounces). The riper, the better—those brown spots are your friends.
- 1 cup 2% milk (I prefer Fairlife, but use what you like). Dairy-free? Almond or oat milk works great too!
- 1 tsp vanilla extract. Adds that extra flavor boost. Got vanilla bean paste? Even better!
- 1 tbsp maple syrup. Sweet and simple. Prefer honey or agave? Go for it.
A Tip on Bananas: Use room-temperature bananas for easier blending. Want it even creamier? Swap half the milk for heavy cream.
Step-by-Step Instructions
Here’s how to make your banana ice cream dream come true:
- Blend the Ingredients
Peel your bananas and toss them into the Ninja Creami pint container. Add the milk, vanilla, and maple syrup. Use an immersion blender to mix it all until smooth. No immersion blender? Mash those bananas with a fork, then whisk in the rest of the ingredients.
Goal: No banana chunks. Just smooth, creamy goodness.
- Freeze the Mixture
Pop the lid on your pint and place it flat in the freezer. Let it sit for at least 24 hours.
Pro Tip: Write the date on the lid so you don’t forget when it’s ready!
- Process in the Ninja Creami
Ready to churn? Take the pint out of the freezer and set it in the Ninja Creami machine. Lock it in place, then select the “Lite Ice Cream” function. It might look crumbly at first (don’t panic—it’s normal). Just hit “Re-spin” once or twice until it’s nice and creamy.
Timing: Each spin takes about 2 minutes.
- Serve It Up
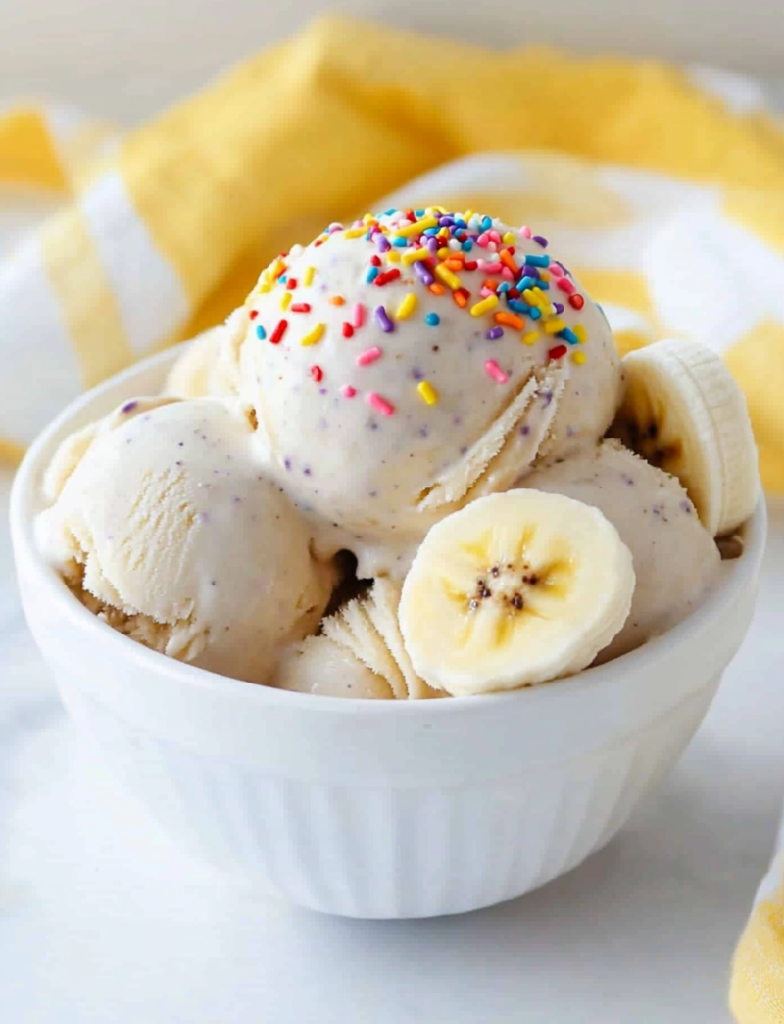
Scoop your creamy banana ice cream into bowls or cones and dig in. Add toppings if you’re feeling fancy—chocolate chips, nuts, caramel drizzle… whatever you love.
Fun Twists & Custom Ideas
Want to make this recipe your own? Try these ideas:
- Vegan-Friendly: Use almond or oat milk and swap maple syrup for agave.
- Sugar-Free: Skip the maple syrup or use stevia.
- Flavors That Pop:
- Add a sprinkle of cinnamon or nutmeg.
- Swirl in peanut butter or mix in some chocolate chips before freezing.
- Seasonal Vibes:
- In summer, toss in some fresh mango chunks for a tropical spin.
- In fall, add pumpkin puree and a dash of pumpkin spice.
Serving & Storing
- How to Serve:
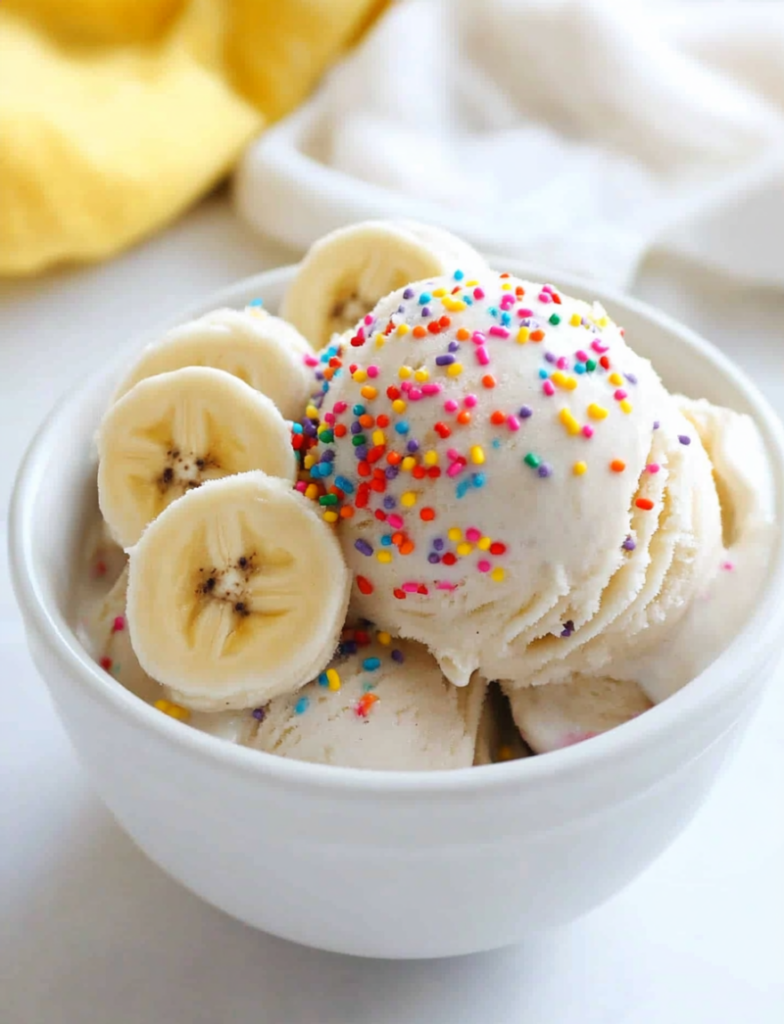
Serve in cold bowls to keep that creamy texture intact. Want to up your game? Garnish with fresh fruit, toasted nuts, or a dollop of whipped cream. - Leftovers:
Store your ice cream right in the pint container. Keep the lid on tight, and it’ll stay good in the freezer for up to a month. - Pro Tip:
If it’s too hard after freezing, let it sit at room temp for about 10 minutes before re-spinning in the Ninja Creami.
With just a handful of ingredients and a little patience, you’ll have a homemade banana ice cream that’s creamy, delicious, and naturally sweet. It’s the perfect treat for any day—or every day. Ready to try it out? Let me know how it goes!
PrintNinja Creami Banana Ice Cream Recipe
Homemade banana ice cream is a simple, creamy treat that’s naturally sweet and easy to customize. With just a handful of ingredients and the Ninja Creami, you’ll have a healthy, delicious dessert perfect for any occasion.
- Prep Time: 10 minutes
- Cook Time: N/A
- Total Time: 24 hours 10 minutes (Including Freezing Time)
- Yield: 2 1x
- Category: Dessert
- Cuisine: American
Ingredients
- 2 ripe bananas (approx. 8 oz) – Brown spots mean sweetness!
- 1 cup 2% milk (or your favorite alternative: almond, oat, etc.)
- 1 tsp vanilla extract – Deepens the flavor.
- 1 tbsp maple syrup – Naturally sweetens.
Optional: For extra creaminess, replace half the milk with heavy cream.
Instructions
- Blend the Base:
- Peel the bananas and add them to the Ninja Creami pint container.
- Pour in milk, vanilla extract, and maple syrup.
- Blend with an immersion blender (or mash the bananas well and whisk in the other ingredients). The mixture should be smooth and lump-free.
- Freeze:
- Cover the pint container with its lid and freeze flat for 24 hours.
- Tip: Label the container with the date for reference!
- Churn:
- Take the pint out of the freezer, place it in the Ninja Creami, and use the “Lite Ice Cream” function.
- If crumbly, re-spin 1–2 times until smooth and creamy.
- Serve:
- Scoop into bowls or cones and enjoy immediately! Add toppings like chocolate chips, nuts, or caramel if desired.
Notes
Serving Suggestions:
- Pair the ice cream with warm brownies or cookies for an extra indulgent treat.
- Serve in chilled bowls to prevent melting.
Tips & Tricks:
- For a vegan option, use almond or oat milk and substitute maple syrup with agave.
- Add flavor twists like cinnamon, peanut butter swirls, or chocolate chips before freezing.
Storage:
- Keep leftovers in the pint container with the lid tightly sealed. Good for up to 1 month in the freezer.
- To soften, let it sit for 10 minutes at room temperature or re-spin in the Ninja Creami.
