Eggnog. Just saying the word brings up images of cozy holiday nights, twinkling lights, and the comforting warmth of nutmeg and cinnamon. It’s the drink of the season—rich, creamy, and full of festive flavor. But what if you could take everything you love about eggnog and turn it into ice cream? Yep, that’s a thing. And it’s amazing.
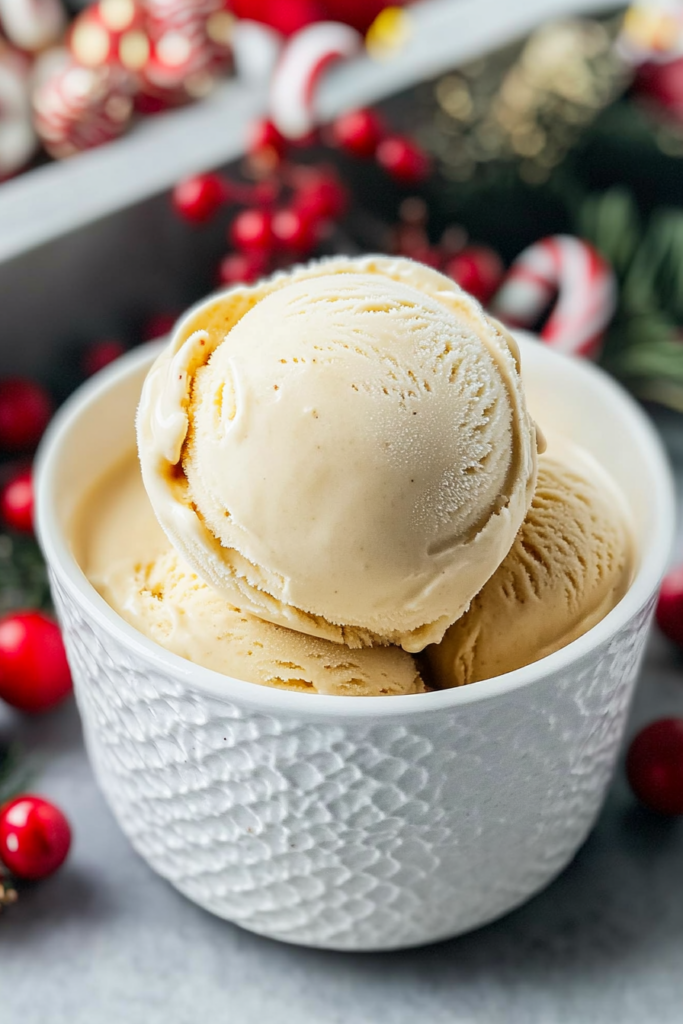
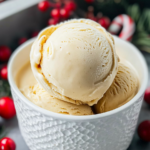
Say hello to Ninja Creami Eggnog Ice Cream. Think smooth, custardy ice cream with all the nostalgic flavors of your favorite holiday drink. It’s perfect for a quiet night by the fire or as a standout dessert at your next holiday dinner. Sound good? Let’s dive in.
Quick Recipe Breakdown
This recipe is for everyone—whether you’re a beginner or a kitchen pro. It’s simple enough to follow yet delivers a rich, creamy ice cream you’ll want to make every year. Here’s the gist:
- Prep time: 15 minutes
- Freezing time: 24 hours (overnight works best!)
- Spin time: 2–3 minutes in your Ninja Creami
Serving Size
One batch fills a single Ninja Creami pint, which serves 2–4 people. Need more? No problem—just double or triple the recipe. You’ll need extra Ninja pint containers for larger amounts, though.
How Hard Is It?
It’s fairly easy, but there’s one part—tempering the egg yolks—that requires a little focus. Don’t worry, I’ll walk you through it.
What You’ll Need
To get started, here’s what you’ll need in terms of equipment and ingredients:
Tools
- Ninja Creami Ice Cream Maker
- A Small Pot
- Ninja Pint Container (or any freezer-safe container that fits in your Creami)
- Whisk
- Measuring Cups and Spoons
Ingredients
- 2 cups half-and-half
- 2 egg yolks
- ½ cup sweetened condensed milk
- ½ tsp ground nutmeg
- ½ tsp ground cinnamon
- 2 tsp vanilla bean paste (or regular vanilla extract)
- Pinch of salt
Swaps and Substitutions
- No half-and-half? Go with equal parts heavy cream and whole milk for an extra creamy result.
- No sweetened condensed milk? Use evaporated milk and add sugar—the texture will still work.
- Want to try something unique? Swap the vanilla for almond extract or increase the spices for extra holiday vibes.
Pro Tip: Use freshly grated nutmeg. It’s a game-changer for flavor.
How to Make It
Here’s the step-by-step on how to create this holiday magic:
Step 1: Make the Base
Grab your pot and combine the half-and-half, sweetened condensed milk, nutmeg, cinnamon, vanilla, and a pinch of salt. Heat it over medium until it’s warm—not boiling. You’ll see small bubbles around the edges when it’s ready. Stir occasionally to keep things smooth.
Why it matters: Heating the mixture slowly keeps it from curdling. Trust me, patience is key here.
Step 2: Temper the Eggs
Whisk your egg yolks in a small bowl until smooth. Now, here’s the important part: slowly add about ¼ cup of the warm milk mixture to the yolks while whisking. This warms up the eggs gently, so they don’t turn into scrambled eggs.
Once tempered, pour the egg mixture back into the pot, stirring the whole time. Heat for another minute or two until it thickens slightly. You’ll know it’s ready when it coats the back of a spoon.
Common mistake: Adding hot liquid too fast. Take it slow—it’s worth it!
Step 3: Cool and Freeze
Take the pot off the heat and let the mixture cool completely. Once it’s at room temperature, transfer it carefully into your Ninja pint container. Seal it tight and pop it in the freezer for 24 hours.
Pro Tip: Use a small funnel to avoid spills. Less mess = less stress!
Step 4: Spin into Ice Cream
The fun part! After 24 hours, pop your pint into the Ninja Creami and run the “Ice Cream” cycle. If it looks a little crumbly, don’t panic—just hit “Re-spin” until it’s perfectly creamy. You can even add a splash of milk during the re-spin if needed.
Ways to Customize
This recipe is super flexible! Here are some ideas to switch things up:
- Dairy-Free Version: Use coconut cream or cashew milk and sweetened condensed coconut milk.
- Boozy Option: Add a splash of rum or bourbon for an adults-only treat.
- Extra Spiced: Play around with cloves or even a dash of ginger for more holiday warmth.
- Egg-Free Alternative: Use pasteurized egg yolks or skip the tempering step altogether with a premade custard base.
Serving and Storing
Serve It Up
Scoop your ice cream into bowls or fancy glasses. Sprinkle a bit of freshly grated nutmeg on top for extra flair. Feeling indulgent? Add caramel sauce or serve with gingerbread cookies on the side.
Storing Leftovers
If there’s any left (highly unlikely), store it in the Ninja pint with the lid sealed tight. This keeps freezer burn at bay. Before serving again, run it through the “Re-spin” function to bring back that creamy texture.
And there you have it: Ninja Creami Eggnog Ice Cream! It’s festive, delicious, and surprisingly easy to make. Whether you’re sharing it with loved ones or treating yourself after a long day, this dessert captures all the joy of the holidays in one creamy scoop.
Ready to try it? Let me know how it turns out!
PrintNinja Creami Eggnog Ice Cream
Bring the cozy flavors of the holidays to life with this creamy, velvety Ninja Creami Eggnog Ice Cream. Infused with warm spices like cinnamon and nutmeg, it’s the perfect frozen twist on everyone’s favorite holiday drink. Perfect for festive gatherings or a quiet treat by the fire.
- Prep Time: 15 minutes
- Cook Time: 10 minutes
- Total Time: 24 hours 25 minutes (Including Freezing Time)
- Yield: 2-4 1x
- Category: Dessert
- Cuisine: American
Ingredients
- 2 cups half-and-half
- 2 egg yolks
- ½ cup sweetened condensed milk
- ½ tsp ground nutmeg
- ½ tsp ground cinnamon
- 2 tsp vanilla bean paste (or vanilla extract)
- Pinch of salt
Instructions
Step 1: Make the Ice Cream Base
- In a small pot, combine half-and-half, sweetened condensed milk, nutmeg, cinnamon, vanilla bean paste, and a pinch of salt.
- Heat over medium heat until warm (don’t let it boil). Stir occasionally.
Step 2: Temper the Egg Yolks
- In a small bowl, whisk the egg yolks until smooth.
- Slowly add ¼ cup of the warm milk mixture to the yolks, whisking constantly.
- Gradually pour the tempered egg yolks back into the pot, stirring continuously.
- Cook over low heat for 1–2 minutes until slightly thickened (the mixture should coat the back of a spoon).
Step 3: Cool and Freeze
- Let the mixture cool to room temperature.
- Pour it into a Ninja Creami pint container, seal, and freeze for 24 hours.
Step 4: Spin
- Place the frozen pint in the Ninja Creami and select the “Ice Cream” cycle.
- If needed, use the “Re-spin” function or add 1 tablespoon of milk for a smoother texture.
Notes
Serving Suggestions
- Serve scoops in bowls or festive glasses with a sprinkle of nutmeg.
- Pair with cookies like gingerbread or biscotti for an indulgent treat.
Tips & Tricks
- Use freshly grated nutmeg for the best flavor.
- Prevent curdling by whisking slowly and keeping heat low.
Storage
- Store leftovers in the Ninja Creami pint with a tight lid. Flatten the surface to minimize air exposure.
- For leftovers, run the “Re-spin” cycle before serving to restore creaminess.