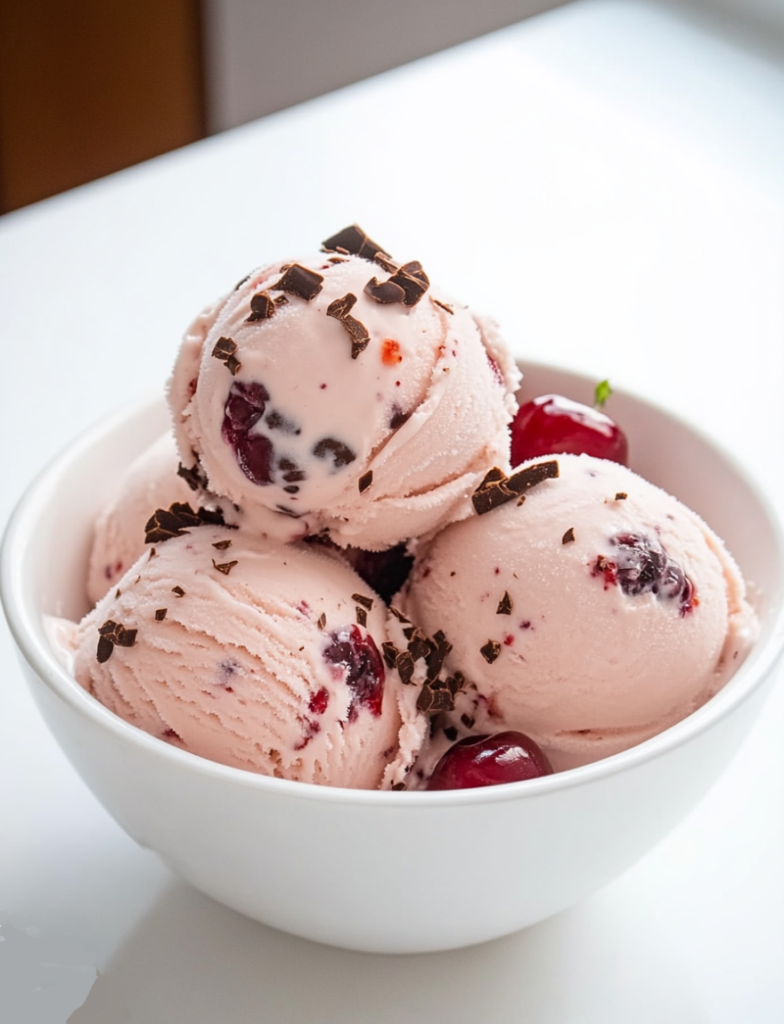
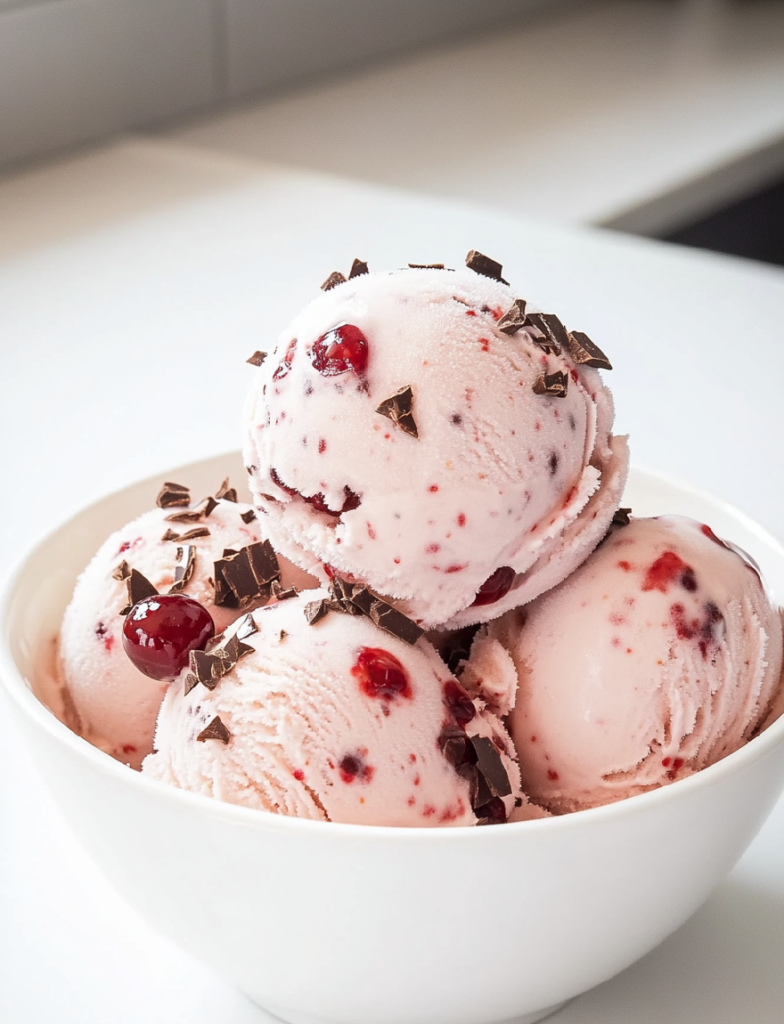
Homemade ice cream hits differently, doesn’t it? Especially when there’s a little something extra in the mix. This boozy twist on classic Cherry Garcia is the perfect blend of creamy richness, sweet-tart cherries, and just the right kick of cherry whiskey. You’ll love how easy it is to whip up using the Ninja Creami. Whether it’s a sunny summer day or you’re just craving a cozy, grown-up treat, this recipe brings fun and flavor to your freezer.
Quick Look at the Recipe
Time You’ll Need:
- Prep: About 10 minutes
- Freezing: 24 hours (plan ahead!)
- Total: 1 day + 10 minutes
Serves:
- Makes one pint (about 2 servings). Want more? Double the fun with extra pint containers!
Difficulty:
Super easy! No fancy skills needed.
Tools You’ll Use:
- Ninja Creami (essential for that dreamy texture)
- Pint container (freezing magic happens here)
- Whisk and mixing bowl (for quick prep)
- Paring knife (to slice those cherries)
No Ninja Creami? You could try an ice cream maker, though the texture might be different.
What You’ll Need
Ice Cream Base:
- 1½ cups whole milk: Full-fat is the way to go for rich flavor.
- ½ cup half-and-half: Keeps things creamy but not too heavy.
- 2 tablespoons vanilla instant pudding mix: Thickens the base and adds flavor (sugar-free works too).
- 2 tablespoons cherry syrup: For flavor and a soft, scoopable texture.
Mix-ins:
- ½ cup halved dark cherries (frozen or fresh): Sweetness with a tart punch.
- 2–3 tablespoons mini chocolate chips: Because chocolate makes everything better.
Optional:
- 1–2 tablespoons milk: For adjusting texture if needed.

Let’s Make It
Step 1: Whip Up the Base
In a bowl, whisk together the milk, half-and-half, pudding mix, and cherry syrup. Mix until smooth and just slightly thickened (about 1–2 minutes). You’re aiming for a base that lightly coats a spoon.
Step 2: Freeze It
Pour the mixture into a Ninja Creami pint container. Don’t go above the max fill line! Pop the lid on and freeze for at least 24 hours. It needs to be rock solid when it’s time to spin.
Pro Tip: For best results, your freezer should be set between 10°F and -13°F.
Step 3: Spin It
Take your frozen pint out of the freezer, set it up in the Ninja Creami, and choose the “Ice Cream” setting. In a minute or two, you’ll have a creamy base ready to go.
Quick Check: It should be smooth and creamy—no icy chunks!
Step 4: Add Cherries
Using a spoon, make a hole in the center of the base (all the way to the bottom). Toss in your halved cherries. Spin again on the “Mix-In” setting.
Step 5: Add Chocolate
Repeat the same process with mini chocolate chips. Spin it on “Mix-In” until everything is blended.
Troubleshooting Tip: If it’s crumbly or too firm, add a splash of milk (1–2 tablespoons) and re-spin on “Ice Cream.”
Fun Twists & Tips
- Dairy-Free? Use almond or oat milk and dairy-free chocolate chips!
- Feeling Fancy? Try dark chocolate chunks or top with whipped cream and fresh cherries.
- Switch It Up: Want a winter vibe? Replace cherries with peppermint extract and chocolate chips for a minty twist.

Serve It Up
How to Serve:
Scoop your ice cream into chilled bowls or cones to keep it cold. Add a few extra cherries or chocolate chips on top for that wow factor.
What to Pair It With:
This ice cream loves company! Serve with warm brownies or gooey chocolate chip cookies for an indulgent dessert combo.
Got Leftovers?
Level out the pint surface before sealing it with the lid. It’ll keep for about a week in the freezer, but let’s be honest—you’ll probably finish it sooner. If it gets too hard, just re-spin it in the Ninja Creami for that fresh-out-of-the-machine texture.
And there you have it: Boozy Cherry Garcia Ice Cream that’s all grown up and ready to impress. Whether you’re treating friends or enjoying a quiet night in, this recipe is a sure hit. Happy scooping!
PrintNinja Creami Boozy Cherry Garcia Ice Cream
This Boozy Cherry Garcia Ice Cream is a creamy, indulgent dessert with dark cherries, rich chocolate chips, and a splash of cherry whiskey for a grown-up twist. Made effortlessly with the Ninja Creami, it’s the perfect treat for any occasion.
- Prep Time: 10 minutes
- Cook Time: N/A
- Total Time: 1 day and 10 minutes (Including Freezing Time)
- Yield: 2 1x
- Category: Dessert
- Cuisine: American
Ingredients
Ice Cream Base:
- 1½ cups whole milk (full-fat recommended)
- ½ cup half-and-half
- 2 tbsp vanilla instant pudding mix (about half a small package)
- 2 tbsp cherry syrup
Mix-ins:
- ½ cup dark cherries (halved, fresh or frozen)
- 2–3 tbsp mini chocolate cuts
Optional:
- 1–2 tbsp milk (for adjusting texture during processing)
Instructions
Step 1: Mix the Base
Whisk together whole milk, half-and-half, vanilla pudding mix, and cherry whiskey in a bowl until smooth and slightly thickened (about 1–2 minutes).
Step 2: Freeze the Base
Pour the mixture into the Ninja Creami pint container, ensuring it doesn’t exceed the max fill line. Cover with a lid and freeze for at least 24 hours until completely solid.
Step 3: Spin the Ice Cream
Remove the frozen pint from the freezer and place it in the Ninja Creami machine. Select the “Ice Cream” setting and process until smooth.
Step 4: Add the Mix-ins
- Make a hole in the center of the processed ice cream and add halved cherries. Use the “Mix-In” setting to combine.
- Repeat with the mini chocolate chips to blend everything evenly.
Step 5: Optional Adjustments
If the ice cream is crumbly or too firm, add 1–2 tablespoons of milk and re-spin using the “Ice Cream” setting.
Notes
Serving Suggestions:
- Serve in chilled bowls or waffle cones to keep the ice cream from melting too quickly.
- Pair with brownies or warm cookies for a decadent combo.
Tips & Tricks:
- No whiskey? Replace it with cherry syrup for a kid-friendly version.
- Dairy-free? Use almond or oat milk, and opt for dairy-free chocolate chips.
- Make multiple pints in advance so you have a ready-to-spin treat anytime.
Storage & Reheating:
- Store any leftovers in the pint container with the lid secured.
- It will keep in the freezer for up to 1 week. If it hardens, re-spin with the Ninja Creami for a creamy texture before serving.