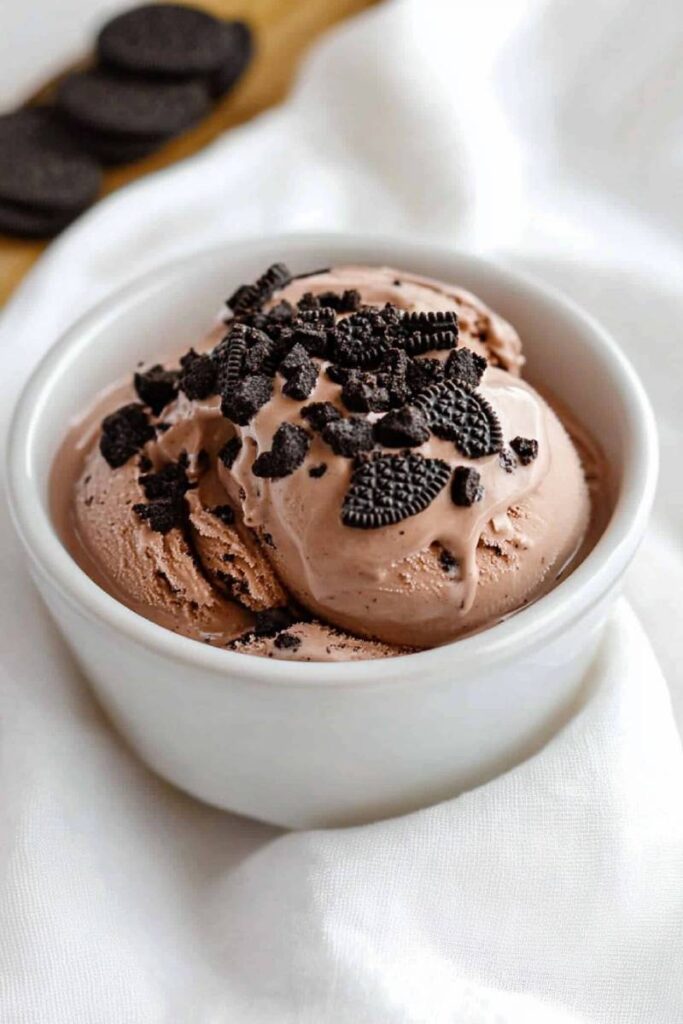
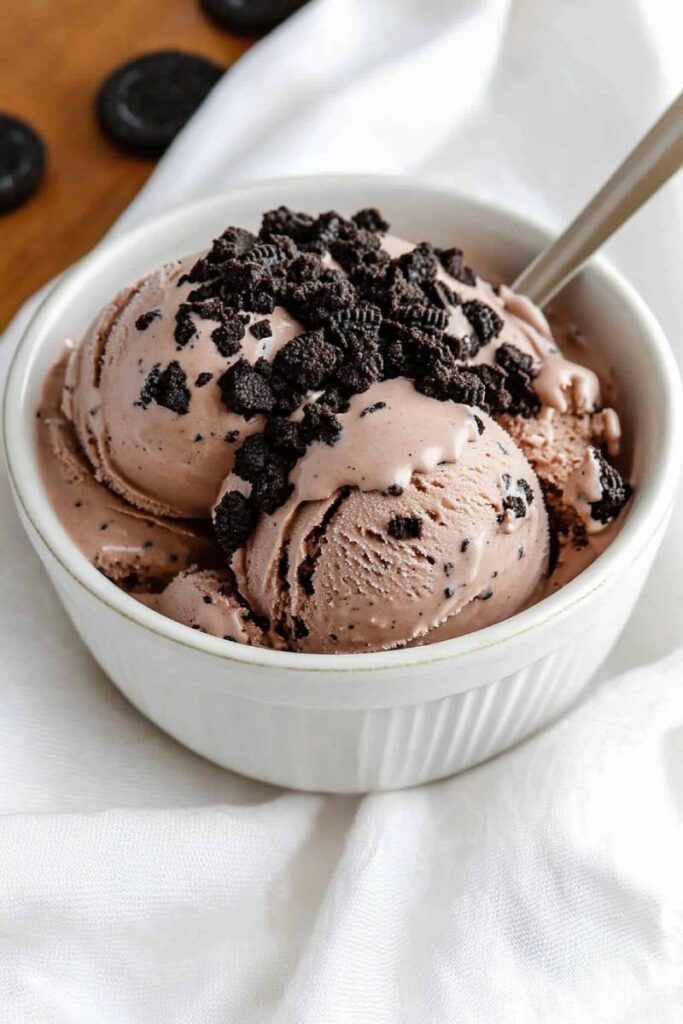
I’ve whipped up this Ninja Creami Cottage Cheese Ice Cream, and let me tell you, it’s a game-changer! Here’s the scoop on how to make this creamy, protein-packed treat.

The Scoop on Ingredients
You’ll need:
- 2 cups 2% cottage cheese (I swear by Good Culture)
- 1 cup fruit of choice (frozen banana works great for creaminess)
- 1-3 tablespoons honey, depending on how sweet you like it
- 2 teaspoons vanilla extract (optional, but recommended)
- A pinch of salt (trust me, it enhances the flavor)
For a chocolate twist, add:
- 1 tbsp cocoa powder
- 30g Dutch processed cocoa for richer flavor

Let’s Make Some Ice Cream!
- Toss everything into your blender or food processor. Blend until it’s smoother than a jazz saxophone solo.
- Pour this creamy concoction into your Ninja Creami pint container. Give it a gentle tap on the counter to kick out any air bubbles.
- Now, the hard part – waiting. Freeze this bad boy for at least 24 hours. I know, I know, it’s tough, but good things come to those who wait!
- When you’re ready to indulge, pop that frozen pint into your Ninja Creami. Hit the ‘ice cream’ button and let the magic happen.
- If it’s not quite as smooth as you’d like after the first spin, give it another whirl. The Ninja Creami’s got your back.

Pro Tips from My Kitchen to Yours
- Room temp cottage cheese blends better. Let it chill on the counter for a bit before blending.
- For a protein punch, throw in a scoop of your favorite protein powder.
- Want to go dairy-free? Swap the cottage cheese for a plant-based alternative, but be prepared for a different texture.
- Feeling fancy? After processing, fold in some crushed Oreos or a swirl of caramel. You deserve it!

Serving Up Deliciousness
Scoop this creamy dream into bowls right after processing. It’s ready to eat immediately! If you’ve got leftovers (ha!), store them in an airtight container. They’ll keep for up to two weeks in the freezer.
When you’re ready for round two, let it sit out for about 10 minutes before scooping. Trust me, it’s worth the wait.
For a fancy finish, dust with cocoa powder and toss some fresh berries on top. Or, pour a shot of espresso over it for a protein-packed affogato. Yum!
There you have it – a delicious, protein-rich ice cream that’ll make your taste buds and muscles happy. Enjoy!
PrintNinja Creami Cottage Cheese Ice Cream
Craving a guilt-free treat? This Ninja Creami Cottage Cheese Ice Cream is your answer! It’s creamy, protein-packed, and surprisingly delicious. Perfect for a hot summer day or a post-workout indulgence.
- Prep Time: 6 minutes
- Cook Time: N/A
- Total Time: 24 hours 6 minutes (Including Freezing Time)
- Yield: 2 1x
- Category: Dessert
- Cuisine: American
Ingredients
- 2 cups 2% cottage cheese
- 1 cup frozen fruit (banana recommended)
- 1–3 tbsp honey
- 2 tsp vanilla extract (optional)
- Pinch of salt
- 1 tbsp cocoa powder (for chocolate version)
- 30g Dutch processed cocoa (for richer chocolate flavor)
Instructions
- Blend all ingredients until smooth.
- Pour into Ninja Creami pint container.
- Tap container to remove air bubbles.
- Freeze for 24 hours.
- Process in Ninja Creami using ‘ice cream’ setting.
- Re-spin if needed for desired consistency.
Notes
Serving Suggestions:
- Dust with cocoa powder and top with fresh berries.
- Pour a shot of espresso over for a protein-packed affogato.
Tips & Tricks:
- Use room temperature cottage cheese for smoother blending.
- Add a scoop of protein powder for extra protein.
Storage:
- Store leftovers in an airtight container in the freezer for up to 2 weeks.
- Let sit at room temperature for 10 minutes before serving.

