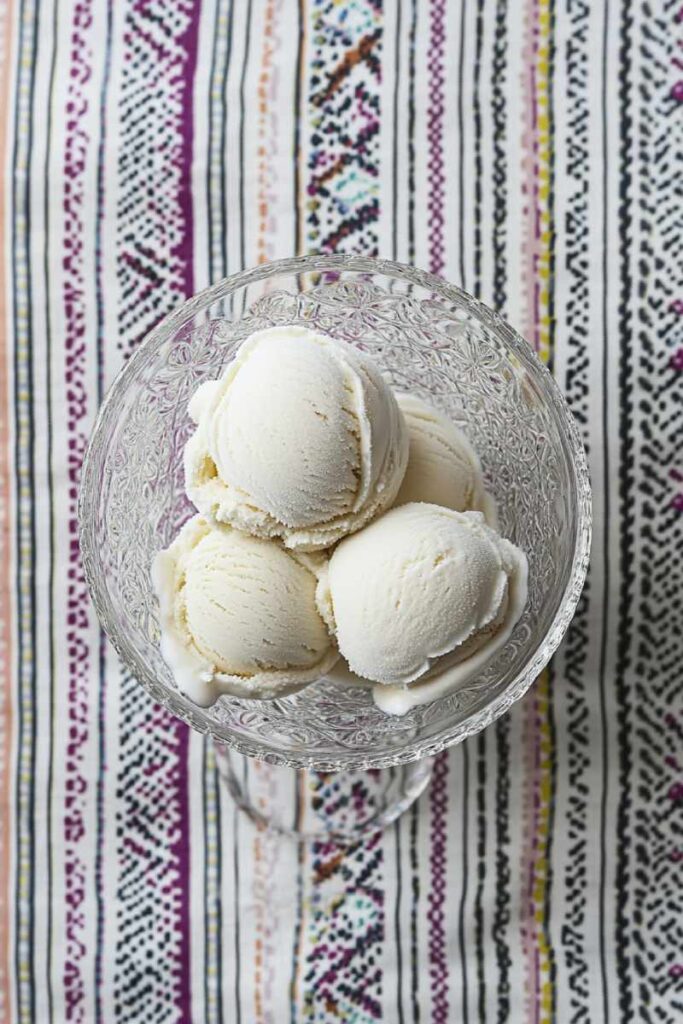
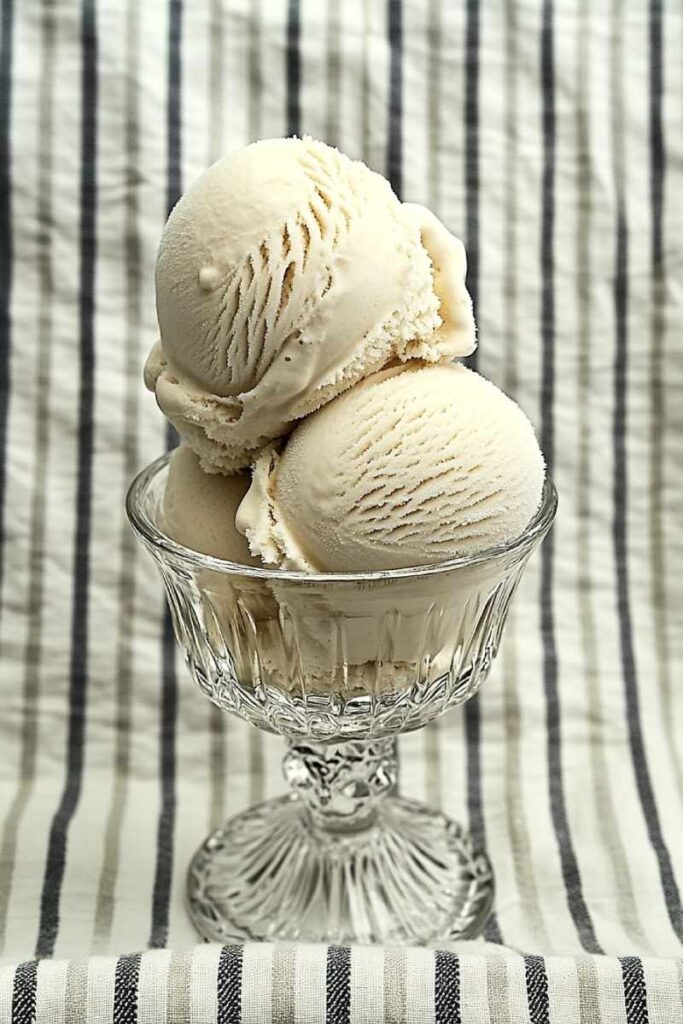
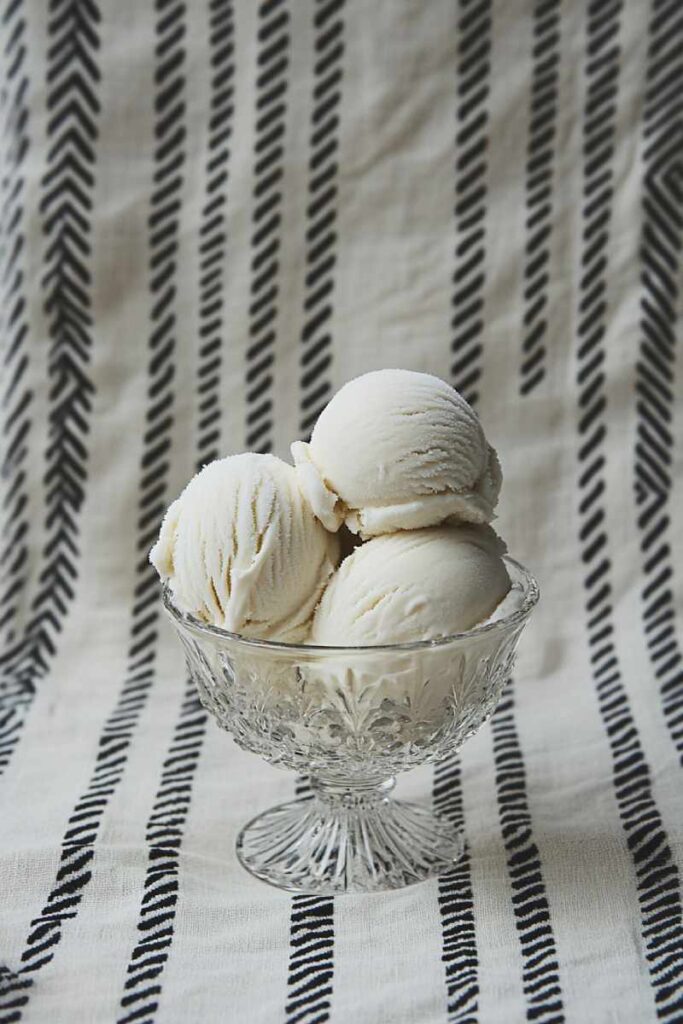
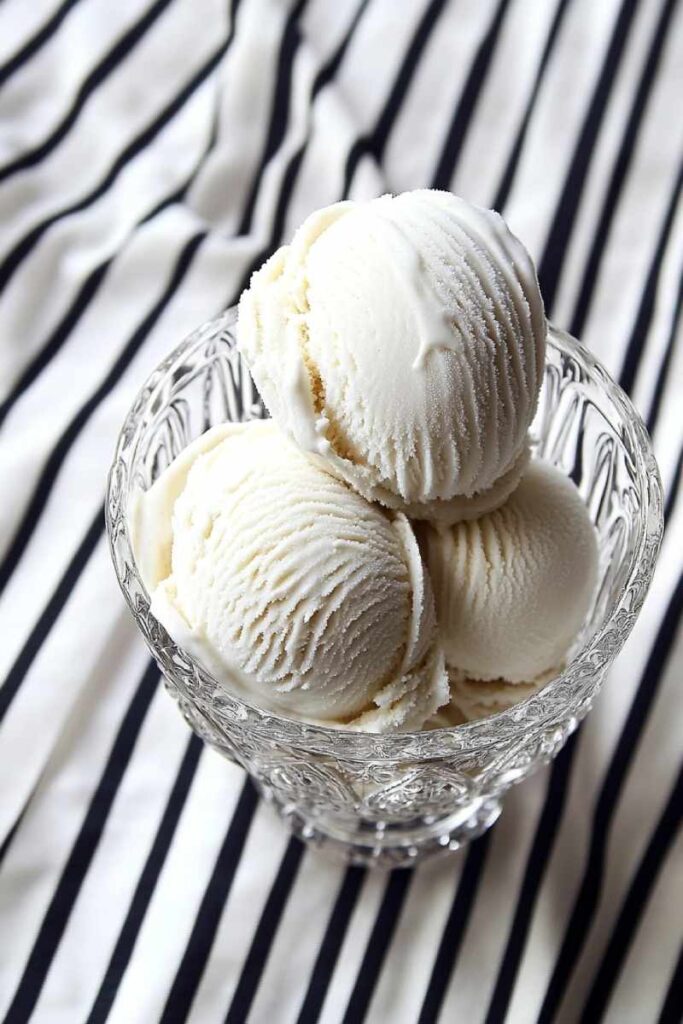
Want to enjoy creamy, sugar-free vanilla ice cream at home? The Ninja Creami makes it super simple. Whether you’re cutting back on sugar, following a keto plan, or just want a healthier dessert, this recipe is for you. Let’s dive in!

What You’ll Need:
- Milk (1 1/2 cups):
Use what you like—regular milk or unsweetened almond, oat, or coconut milk for a sugar-free option. - Sugar-Free Vanilla Pudding Mix (3 tablespoons):
Adds sweetness and helps with that smooth texture. - Heavy Cream or Coconut Cream (1/2 cup):
Heavy cream gives richness; coconut cream works great if you’re dairy-free. - Vanilla Extract (1 teaspoon):
Because what’s vanilla ice cream without a boost of vanilla?

Step-by-Step Instructions:
- Mix It Up
- Grab a bowl or measuring cup. Combine the milk and pudding mix.
- Whisk or blend until the mix dissolves completely.
- Add the Cream and Vanilla
- Stir in the heavy cream (or coconut cream) and vanilla extract. Mix until smooth.
- Freeze It
- Pour the mixture into your Ninja Creami pint container. Pop on the lid and place it flat in the freezer for at least 24 hours.
- Let the Ninja Work Its Magic
- Take the frozen pint out of the freezer and remove the lid.
- Insert it into your Ninja Creami machine, lock it in, and press “Lite Ice Cream.” Let it do its thing.
- Fix the Texture (if needed)
- If your ice cream looks crumbly after processing, hit “Re-spin.” Still not creamy? Add a tablespoon of milk and re-spin again.
- Serve and Enjoy
- Scoop out your smooth, creamy vanilla ice cream. Top with sugar-free nuts, cookies, or candy if you like.

Tips to Customize Your Ice Cream:
- Milk Choices: Regular milk works if natural sugars are okay for you. For sugar-free options, go with almond, oat, or coconut milk.
- Cream Options: Heavy cream gives that classic richness, but canned coconut cream is perfect for dairy-free diets.
- Mix-Ins: Want some crunch or extra flavor? Toss in sugar-free chocolate chips, nuts, or cookie pieces during processing.

Ninja Creami Sugar Free Vanilla Ice Cream
A creamy, guilt-free vanilla ice cream made with the Ninja Creami. Perfect for keto, dairy-free, or sugar-conscious diets. Quick prep, simple ingredients, and customizable to your taste!
- Prep Time: 5 minutes
- Cook Time: N/A
- Total Time: 24 hours 5 minutes (Including Freezing Time)
- Yield: 2–3 1x
- Category: Dessert
- Cuisine: American
Ingredients
Scale
- 1 1/2 cups milk of choice (e.g., almond, oat, coconut, or regular dairy milk)
- 3 tablespoons sugar-free vanilla pudding mix (for sweetness and texture)
- 1/2 cup heavy cream or coconut cream (choose based on dietary preference)
- 1 teaspoon vanilla extract
Instructions
- Combine Ingredients:
In a mixing bowl or measuring cup, whisk together milk and pudding mix until fully dissolved. - Add Cream and Vanilla:
Stir in heavy cream (or coconut cream) and vanilla extract. Mix until smooth. - Freeze Mixture:
Pour the mixture into the Ninja Creami pint container. Secure the lid and freeze flat for at least 24 hours. - Process in Ninja Creami:
Remove the frozen pint from the freezer, take off the lid, and place it in the Ninja Creami machine. Select “Lite Ice Cream” mode and let it process. - Adjust Texture (if needed):
If crumbly, use the “Re-spin” function. Still not creamy? Add 1 tablespoon of milk and re-spin until smooth. - Serve & Enjoy:
Scoop out your creamy vanilla ice cream and serve immediately. Add toppings like nuts or sugar-free chocolate chips if desired!
Notes
- Milk Options: Use unsweetened almond or coconut milk for a sugar-free base; regular milk works if natural sugars are fine for you.
- Cream Substitutes: Coconut cream is ideal for dairy-free diets; heavy cream gives a richer texture.
- Mix-In Ideas: Add sugar-free cookie crumbles, nuts, or candy during processing for extra flavor and crunch!
- Storage & Reheating: Store leftovers in the freezer in an airtight container. Re-process with a splash of milk to restore creaminess before serving.
Enjoy this easy-to-make dessert that’s as versatile as it is delicious!
This recipe is easy to tweak based on what you have at home or your dietary needs. And if you follow these steps, you’ll get that perfect creamy texture every time. Ready to dig in?

