You know that warm, cozy feeling of sipping hot chocolate on a cold night? Now, imagine taking that same flavor and turning it into a creamy, chilled treat you can enjoy any time. Sounds amazing, right? This Ninja Creami Frozen Hot Chocolate Ice Cream is all about blending the comfort of hot cocoa with the indulgence of homemade ice cream. It’s simple to make, easy to customize, and guaranteed to make your dessert game stronger. Whether you’re a kitchen newbie or a seasoned pro, this recipe has your back.

Quick Recipe Breakdown
- Time Needed:
5 minutes to prep, 24 hours to freeze. - Servings:
Makes one pint—perfect to share… or keep all to yourself. Double it? Just prep two separate pints. - Skill Level:
Beginner-friendly! Step-by-step, no stress.
What You’ll Need:
- Ninja Creami Ice Cream Maker
- A microwave-safe container (large liquid measuring cups work great!)
- A whisk or spoon
- Ninja Creami pint container
Make-Ahead Option:
Prep the base and freeze it up to a week before you plan to eat it. Already made it? Leftovers can go back in the freezer and be freshened up with another spin in the Ninja Creami.

Let’s Talk Ingredients
What You’ll Need:
- 1 cup whole milk (warm it up)
- 6 tablespoons hot chocolate mix (like Swiss Miss Milk Chocolate)
- ½ cup heavy whipping cream
Substitutions:
- Want it richer? Swap whole milk for half-and-half.
- Feeling creative? Try dark chocolate or Mexican hot chocolate mix.
- Dairy-free? Almond milk or coconut milk will work too.
Pro Tip: Use a hot cocoa mix you really love. That’s the key to nailing the flavor.

How to Make It
Here’s the simple step-by-step:
Warm Up the Milk:
Heat 1 cup of whole milk in the microwave for about 50 seconds. You’re aiming for hot, not boiling.
Mix the Cocoa:
Stir in 6 tablespoons of hot chocolate mix. Use a whisk or spoon and make sure there are no clumps left. The result? Smooth, chocolatey goodness.
Add the Cream:
Pour in ½ cup of heavy whipping cream. Whisk it all together until it’s silky smooth.
Freeze It:
Transfer the mix to your Ninja Creami pint container. Let it cool to room temperature, put the lid on, and freeze for at least 24 hours.
Spin into Ice Cream:
Pop the frozen pint into your Ninja Creami. Use the “Ice Cream” function.
Adjust Texture (Optional):
If your ice cream feels too crumbly, hit “Re-spin.” Still not creamy enough? Add a splash of milk and spin again.
Go Wild with Mix-Ins:
Want to take it up a notch? Add a handful of mini marshmallows (or even crushed peppermint candies!) and use the “Mix-In” function.
Make It Your Own
This recipe is versatile—here are some fun ways to switch it up:
- Vegan Option: Use almond or oat milk and a dairy-free cocoa mix.
- Spicy Twist: Add a pinch of cinnamon or cayenne powder for a Mexican hot chocolate vibe.
- Holiday Flair: Swap in pumpkin spice cocoa for fall or peppermint cocoa mix for winter.
- Toppings Galore: Think whipped cream, chocolate syrup, or crushed cookies for extra indulgence.
Serving & Storing
How to Serve It:
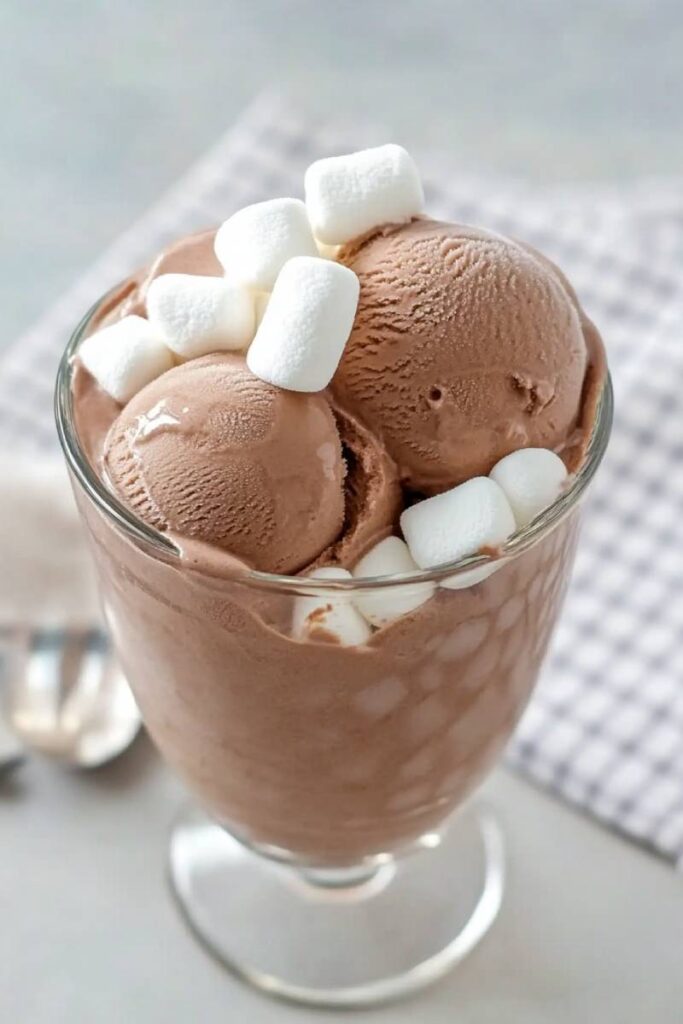
Spoon it into bowls or mugs. For extra flair, top with whipped cream, marshmallows, or a drizzle of chocolate syrup.
What to Pair It With:
Cookies. Always cookies. Shortbread, biscotti, or even a warm brownie on the side.
Storing It:
Store leftovers in the Ninja Creami pint (lid on tight!) for up to a week.
Pro Tip for Leftovers:
If it gets too hard in the freezer, no problem! Just pop it back in the Ninja Creami and hit the “Re-spin” button for freshly creamy ice cream.
That’s it! This recipe isn’t just about dessert—it’s about creating a little joy in every bite. Whether it’s for a quiet night in or a fun family treat, this Frozen Hot Chocolate Ice Cream is going to be a hit. Enjoy!
PrintNinja Creami Frozen Hot Chocolate Ice Cream

Transform the cozy, nostalgic flavors of hot chocolate into a creamy, frozen treat. Perfect for year-round enjoyment, this easy-to-make dessert is rich, customizable, and beginner-friendly.
- Prep Time: 5 minutes
- Cook Time: N/A
- Total Time: 24 hours 5 minutes (Including Freezing Time)
- Yield: 2 1x
- Category: Dessert
- Cuisine: American
Ingredients
- 1 cup whole milk (heated)
- 6 tablespoons hot chocolate mix (e.g., Swiss Miss classic)
- ½ cup heavy whipping cream
Substitutions:
- Use chocolate milk or half-and-half for a richer base.
- Swap with almond milk or coconut milk for dairy-free options.
Instructions
Step 1: Heat the Milk
- Microwave 1 cup of whole milk until hot, about 50 seconds. Avoid boiling—it just needs to steam.
Step 2: Mix the Cocoa Base
- Add 6 tablespoons of hot chocolate mix to the hot milk. Whisk until fully dissolved and smooth.
Step 3: Add the Cream
- Whisk in ½ cup of heavy whipping cream until well combined and velvety.
Step 4: Freeze the Base
- Pour the mixture into your Ninja Creami pint container. Let it cool to room temperature, seal, and freeze for at least 24 hours.
Step 5: Process into Ice Cream
- Place the frozen pint into the Ninja Creami machine. Use the “Ice Cream” function to churn.
Step 6: Adjust Texture (Optional)
- If the ice cream seems crumbly, use the “Re-spin” function. Still not smooth? Add 1 tablespoon of milk and spin again.
Notes
Serving Suggestions:
- Serve in cups or mugs. Top with whipped cream, mini marshmallows, or a drizzle of chocolate syrup for an extra treat.
Tips & Tricks:
- Experiment with different hot cocoa mixes (like dark chocolate or peppermint) for unique flavors.
- For a fun twist, use the Ninja Creami’s “Mix-In” function to fold in mini marshmallows or crushed peppermint candies.
Storage & Reheating:
- Store leftovers in the Ninja Creami pint container with the lid tightly secured. Keep frozen for up to 1 week.
- To refresh the texture, use the “Re-spin” function before serving again.
This ice cream is a little bit of nostalgia with a whole lot of fun! Perfect for cozy nights or year-round indulgence. Enjoy!